6.1.3.2. PDFファイルへの変換
6.1.3.2.1. 変換対象ファイルを設置する
- < %PUBLIC_STORAGE_PATH% /pdfa/tutorial/officetopdf/ld >ディレクトリを作成します。
- < data >フォルダを< %PUBLIC_STORAGE_PATH% /pdfa/tutorial/officetopdf/ld >配下に設置します。
6.1.3.2.2. ロジックフロー定義のデバッグ画面を開く
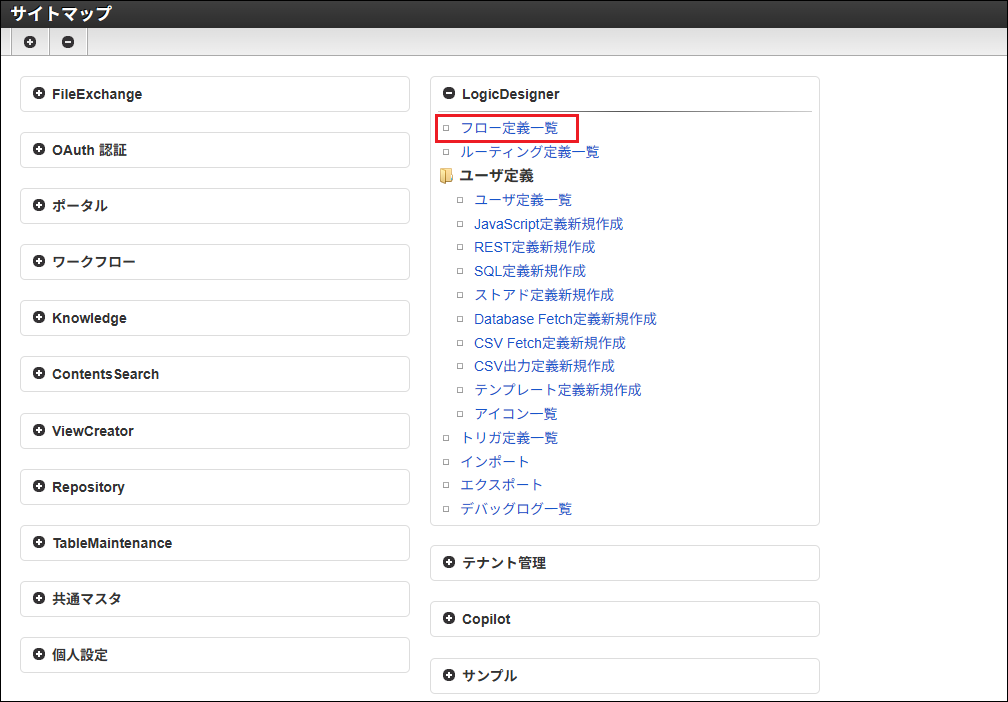
「サイトマップ」-「LogicDesigner」-「フロー定義一覧」をクリックします。
「 IM-PDFAutoConverter チュートリアル」から「 Office変換 」を選択し、「編集」をクリックします。
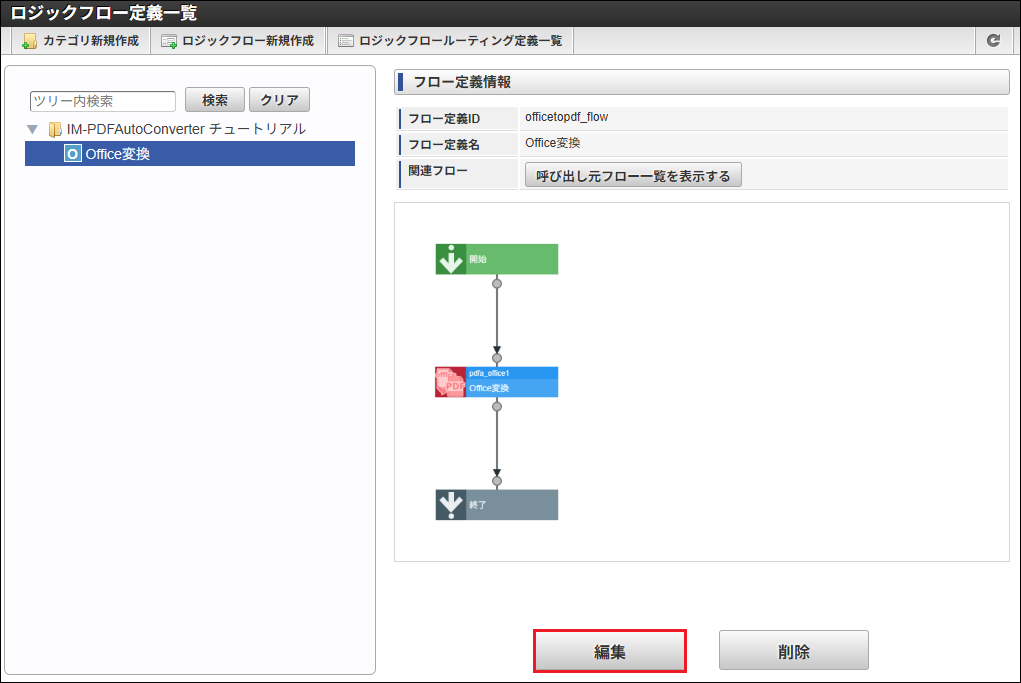
「ロジックフロー定義編集」画面が開きます。
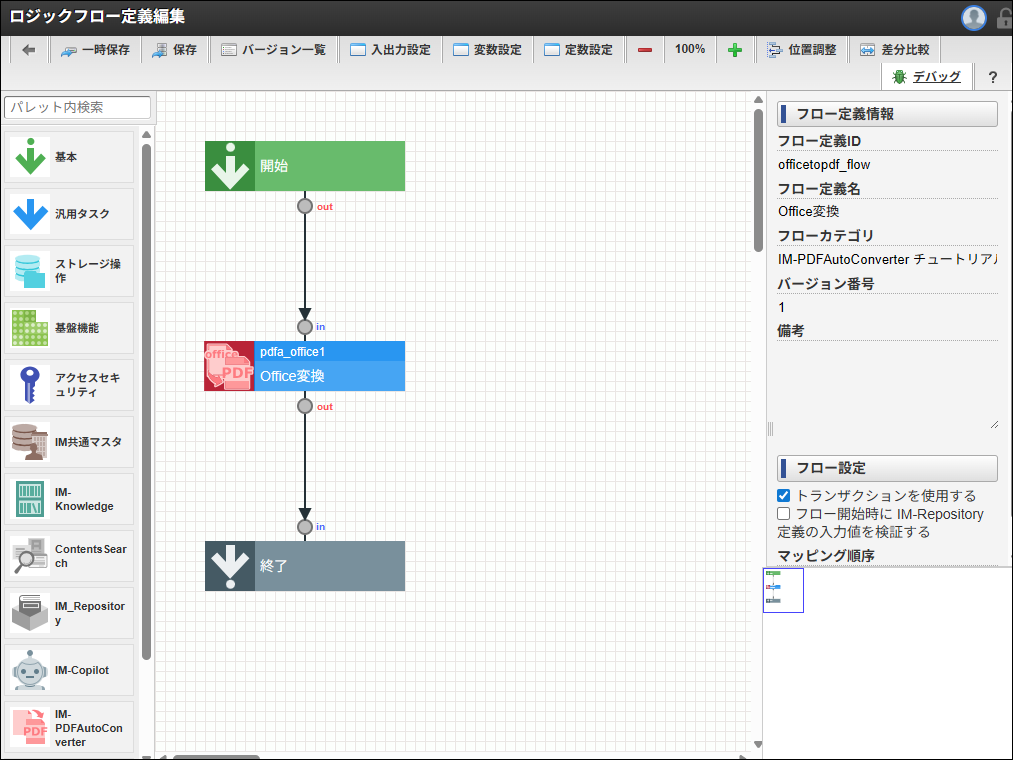
「デバッグ」をクリックします。

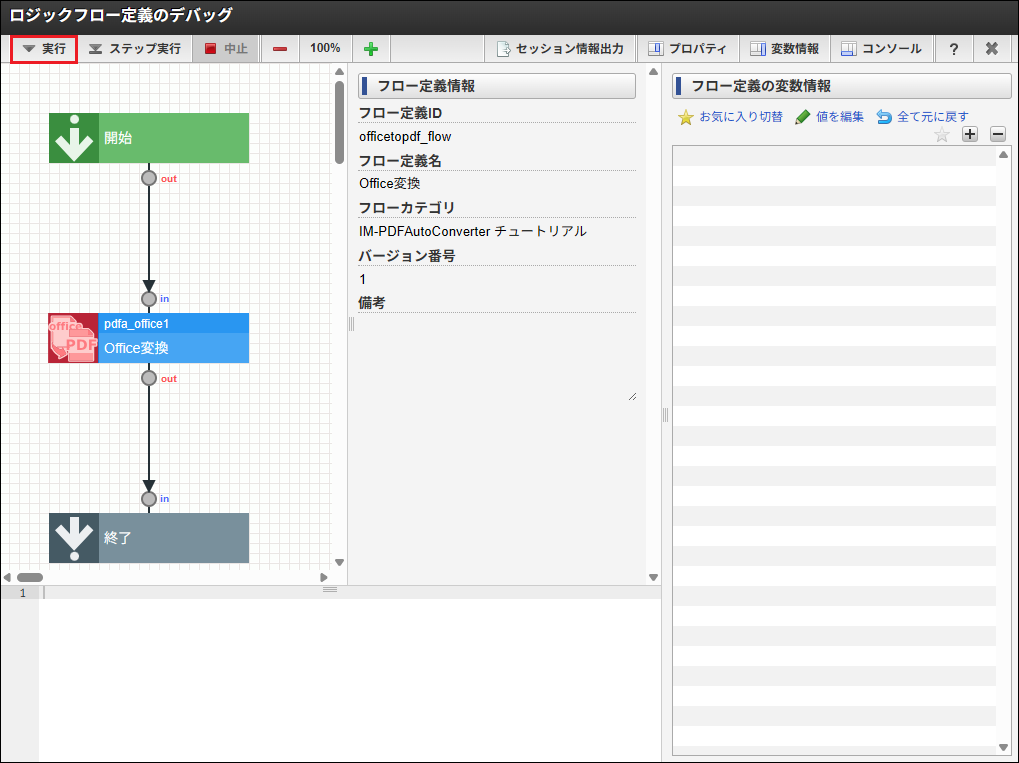
「ロジックフロー定義のデバッグ」画面が開きます。
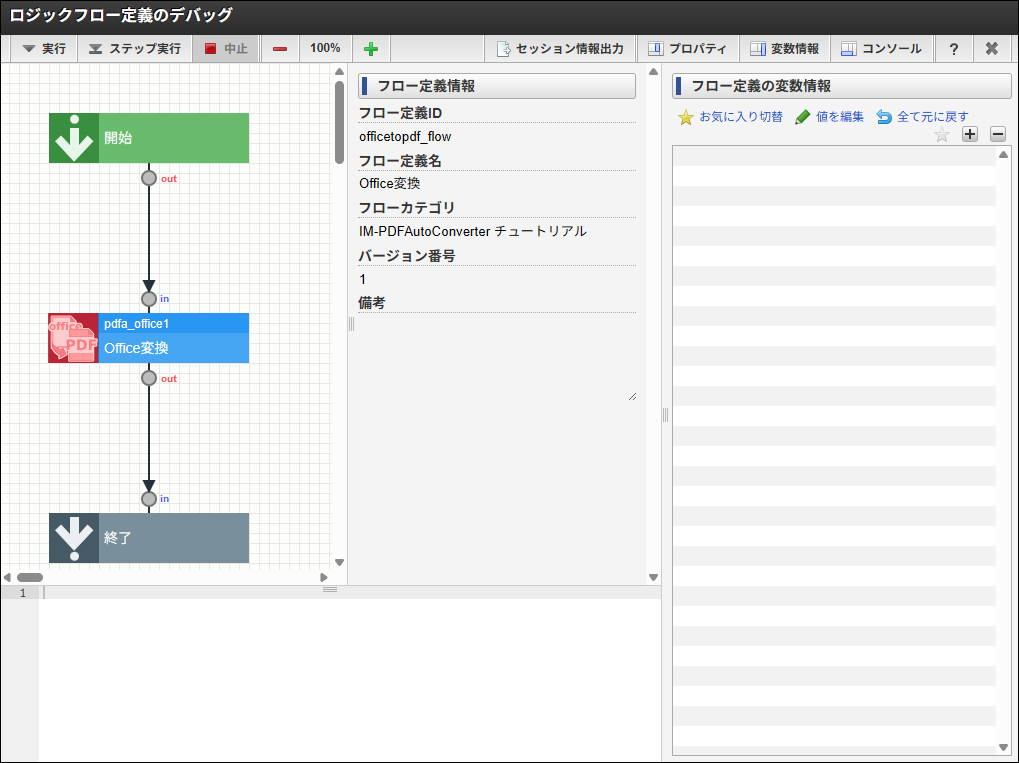
6.1.3.2.3. 入力値を設定し、デバッグを実行する
「実行」をクリックします。
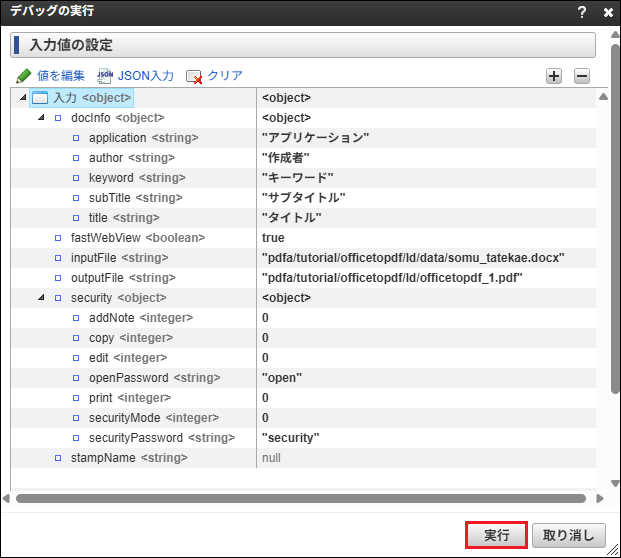
各変数に次の値を設定し、「実行」をクリックします。
フロー定義の入力値の項目は次の通りです。
docInfo <object>
  ├─ application <string>
  ├─ author <string>
  ├─ keyword <string>
  ├─ subTitle <string>
  └─ title <string>
fastWebView <boolean>
inputFile <string> *
outputFile <string> *
security <object>
  ├─ addNote <integer>
  ├─ copy <integer>
  ├─ edit <integer>
  ├─ openPassword <string>
  ├─ print <integer>
  ├─ securityMode <integer>
  └─ securityPassword <string>
stampName <string>
項目名 必須/任意 型 配列/リスト 説明 inputFile 必須 string なし Office変換 の入力値「inputFile」 outputFile 必須 string なし Office変換 の入力値「outputFile」 他入力項目 ― ― ― Office変換 の各入力値 設定値は次の通りです。
< 値を編集 >
変数 値 docInfo application アプリケーション author 作成者 keyword キーワード subTitle サブタイトル title タイトル fastWebView true inputFile pdfa/tutorial/officetopdf/ld/data/somu_tatekae.docx outputFile pdfa/tutorial/officetopdf/ld/officetopdf_1.pdf security addNote 0 copy 0 edit 0 openPassword open print 0 securityMode 0 securityPassword security stampName null < JSON入力 >
{
   "docInfo": {
      "application": "アプリケーション",
      "author": "作成者",
      "keyword": "キーワード",
      "subTitle": "サブタイトル",
      "title": "タイトル"
   },
   "fastWebView": true,
   "inputFile": "pdfa/tutorial/officetopdf/ld/data/somu_tatekae.docx",
   "outputFile": "pdfa/tutorial/officetopdf/ld/officetopdf_1.pdf",
   "security": {
      "addNote": 0,
      "copy": 0,
      "edit": 0,
      "openPassword": "open",
      "print": 0,
      "securityMode": 0,
      "securityPassword": "security"
   },
   "stampName": null
}
コラム
Office変換 の入出力値については「 Office変換 」を参照してください。
「決定」をクリックします。
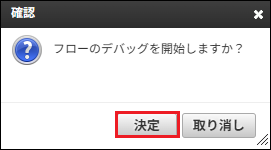
デバッグが開始されます。
正常にデバッグが終了した場合、その旨のメッセージが表示され、変数情報ペイン、および、コンソールペインが更新されます。
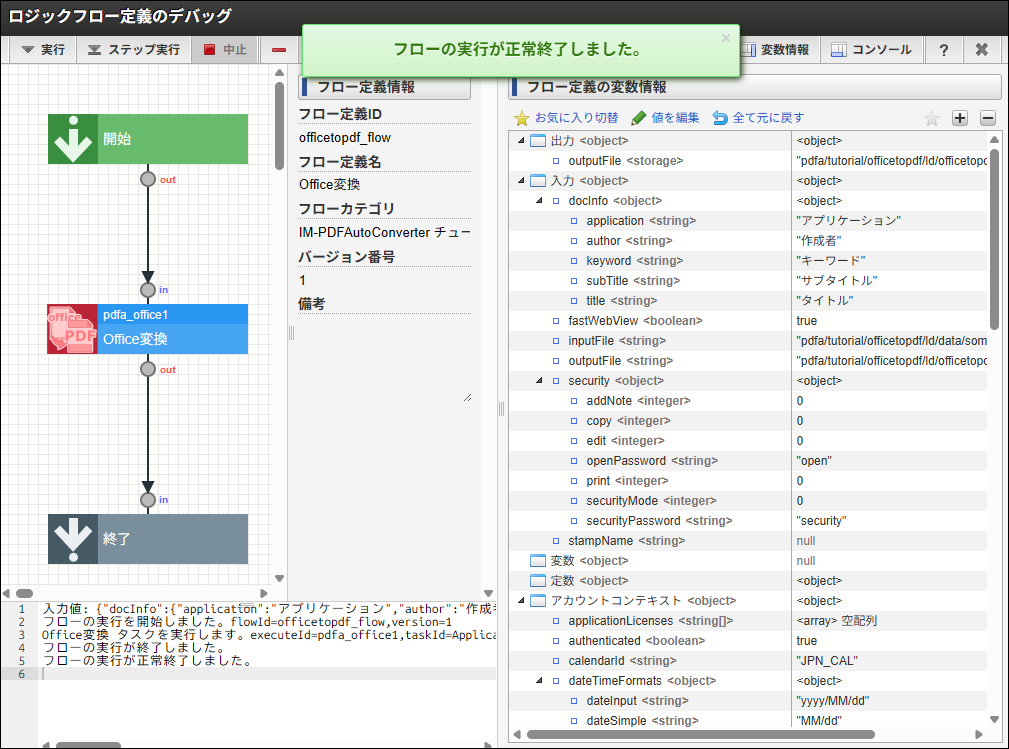
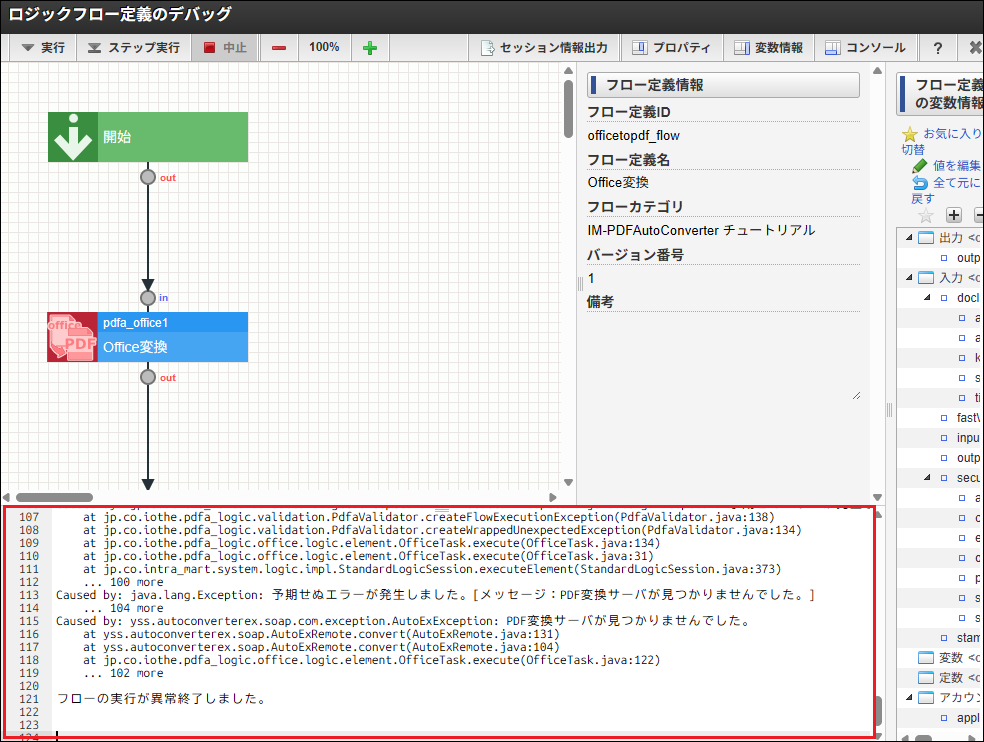
PDFファイル変換処理に失敗した場合は、デバッグ実行時のコンソールを確認してください。
6.1.3.2.4. 実行結果を確認する
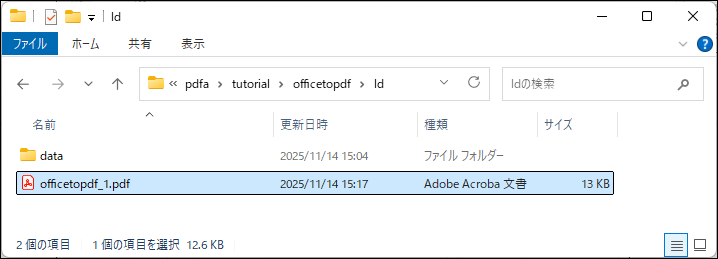
「outputFile」に指定した出力先に、PDFファイルが出力されていることを確認します。
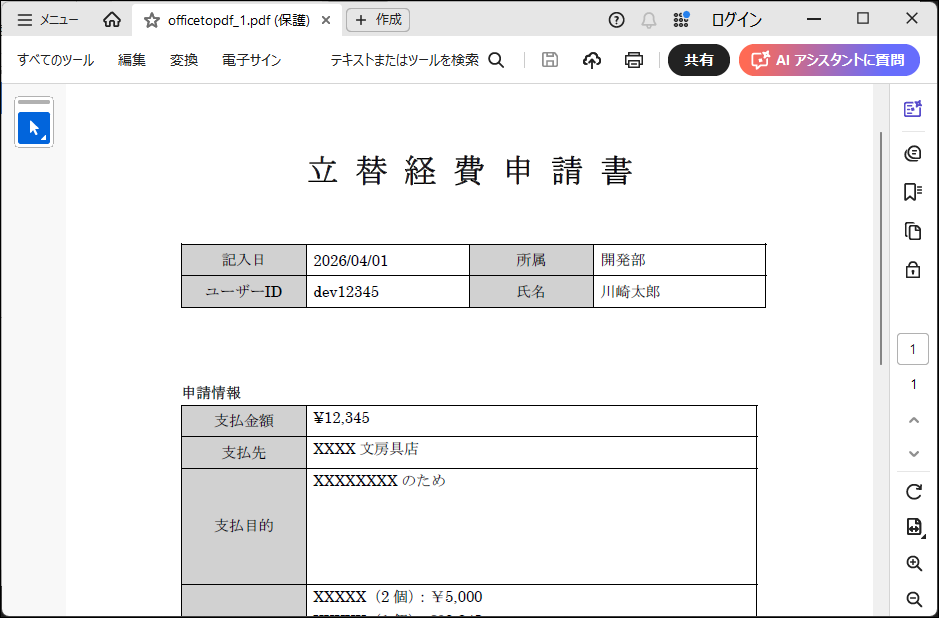
出力されたPDFファイルをPDFビューア( Adobe Acrobat Reader など)で開き、正しく表示されることを確認します。
コラム
PDFファイルのパスワードは、次の通りです。
- オープンパスワード:「open」
- セキュリティパスワード:「security」