4.7. Apache Solr
4.7.1. Apache Solr のセットアップ
メディアに同梱されている <solr_setup.zip> ファイルを任意のパスに展開します。
「Apache Solr」セットアップツールは次のURLからもダウンロードできます。
コラム
本書では、以下のディレクトリを指定します。
「C:/solr」
コマンドプロンプトを開き、次のパスへ移動します。
C:/solr/solr_setup
次のコマンドを入力します。
<Enter>キーを押下するとセットアップツールが実行されセットアップツールのコマンド一覧とその説明が表示されます。
C:/solr/solr_setup> setup.batC:\solr\solr_setup> C:\solr\solr_setup> setup.bat Buildfile: C:\solr\solr_setup\build\build.xml usage: [echo] Welcome to the Apache Solr Installation! [echo] Use '' to display usage [echo] Use 'usage' to display usage [echo] Use 'jetty' to download the jetty zip file, solr zip file and the solr.war and unzip the zip files and config the jetty port [echo] Use 'jetty.start' to download the jetty zip file, solr zip file and the solr.war and unzip the zip files and config the jetty port and start the jetty [echo] Use 'resin' to download the solr zip file and the solr.war for resin and unzip the zip file [echo] Use 'tomcat' to download the solr zip file and the solr.war for tomcat and unzip the zip file BUILD SUCCESSFUL Total time: 1 second C:\solr\solr_setup>Resin にセットアップします。
C:/solr/solr_setup> setup.bat resinを実行すると ./dist ディレクトリに resin ディレクトリが作成されます。
コラム
setup.bat resin 実行後の表示される画面の一部です。
      [get] ....................................................
      [get] ....................................................
      [get] ....................................................
      [get] ....................................................
      [get] ....................................................
      [get] ....................................................
      [get] ....................................................
      [get] ....................................................
      [get] ...........
      [get] last modified = Thu Sep 27 01:25:24 JST 2012

md.resin.webapps:
     [echo] make resin webapps dir(../dist/resin/resin/webapps)...
    [mkdir] Created dir: C:\solr\solr_setup\dist\resin\resin\webapps

copy.resin.solr.war:
     [echo] copy the solr.war from ./download/solr.war to ../dist/resin/resin/webapps...
     [copy] Copying 1 file to C:\solr\solr_setup\dist\resin\resin\webapps

common.display.readme:
     [echo] ==========================================================================================================
     [echo] ●定義
     [echo]     <%resin_home%>:Application Server Resinがインストールされているディレクトリ
     [echo]
     [echo] ●Solrの配置と設定
     [echo]     /dist/resin/resin/*.*を<%resin_home%>へコピーしてください。
     [echo]
     [echo] ●Solr ホームロケーションの設定
     [echo]     <%resin_home%>/conf/resin.xmlに/dist/resin/env-entry.txtの内容を追加します。
     [echo]
     [echo]     env-entry.txtの内容をresin.xmlの</resin>の前にコピーします。
     [echo]
     [echo] ==========================================================================================================
     [echo] C:\solr\solr_setup\dist\resin\readme.txt

BUILD SUCCESSFUL
Total time: 11 seconds

C:\solr\solr_setup>
セットアップツールの実行が完了すると、セットアップに必要なファイル群が ./dist ディレクトリに出力されます。
続けてファイル内の readme.txt に記述された手順 (コマンド完了時に表示された内容に同じ) を行ってください。
注意
/dist/resin/resin/webappsについては<%resin_home%>に同名のディレクトリが存在するため、/dist/resin/resin/webapps/*.*を<%resin_home%>/webapps/.へコピーしてください。コラム
Apache Solr のセットアップする Resin は、intra-mart Accel Platform をセットアップする Resin と同じ環境でも動作します。以上でセットアップが完了です。
より細かい設定を参照したい場合は「 Solr管理者ガイド 」を参照してください。
4.7.2. Apache Solr の起動、Admin画面へ接続、停止
「Apache Solr」をセットアップした Resin を起動します。
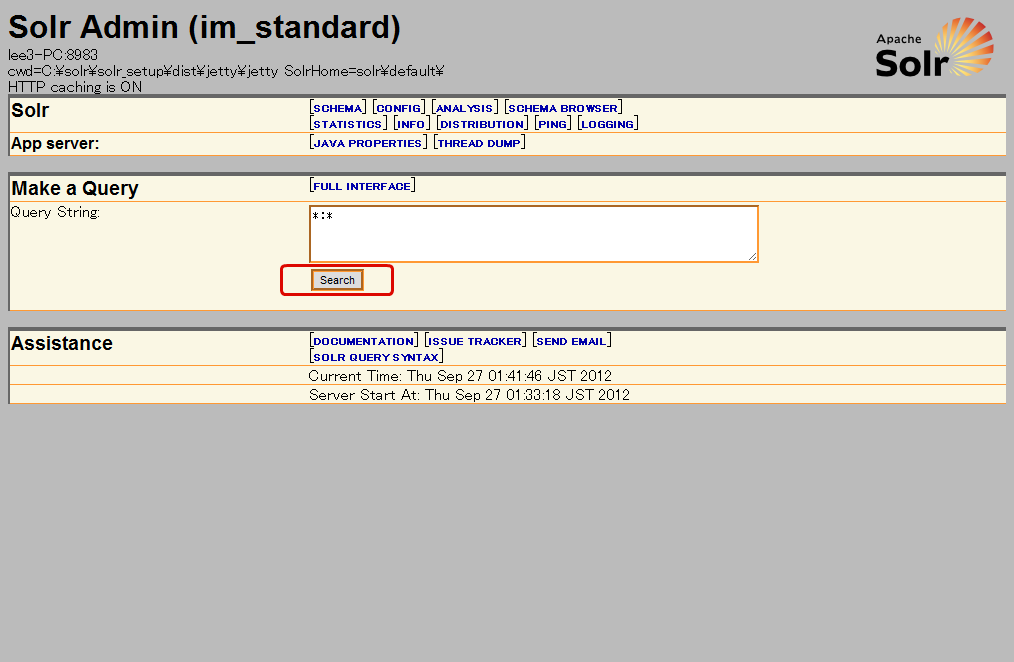
「Apache Solr」のAdmin画面へ接続し、「search」ボタンが正常に動作することを確認します。
次は、「 WARファイルのデプロイ 」へ進みます。