intra-mart Accel Platform での作業
intra-mart Accel Platform での作業内容を説明します。intra-mart Accel Platform を複数台 用意する場合は、各 intra-mart Accel Platform に以下の作業を実施してください。
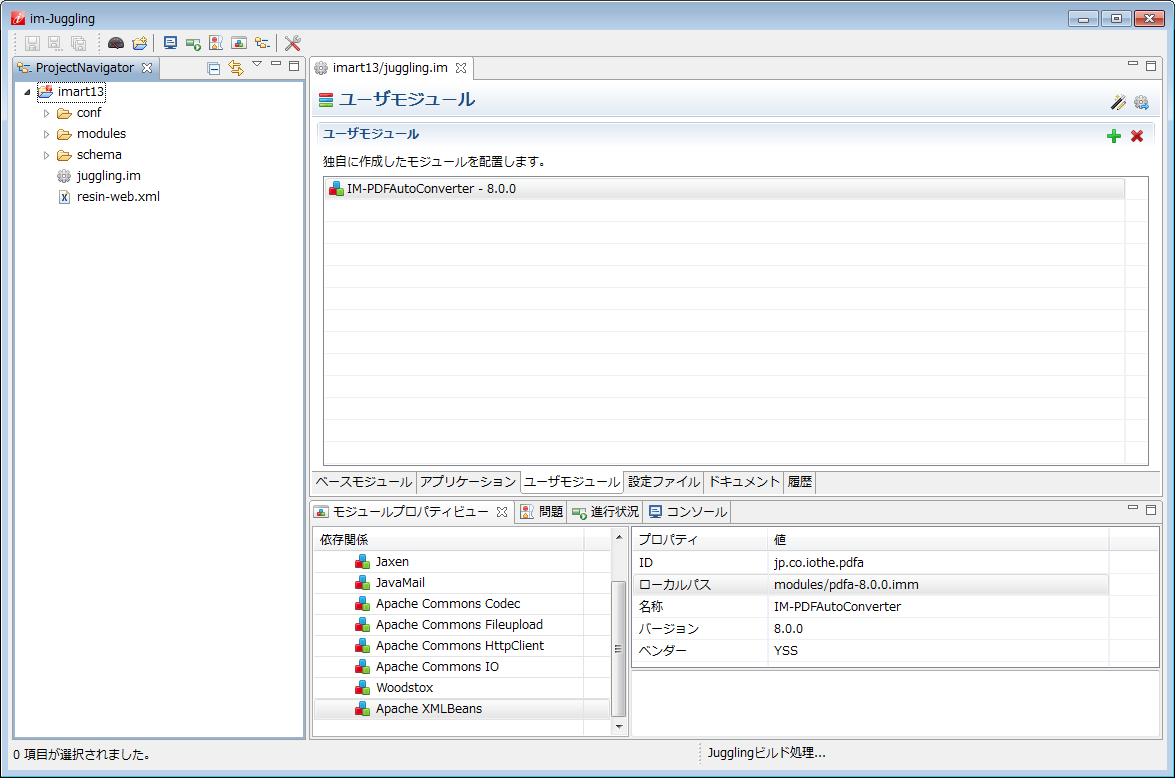
プロジェクトの作成とモジュールの選択
ファイル
IM-Jugglingでの追加場所
pdfa.x.x.x.imm
ユーザモジュール
コラム
複数のアプリケーションを Resin に配置している場合は、すべてのアプリケーションに配置してください。
設定ファイルの編集
ファイル
場所
autoex-config.xml
%RESIN_HOME%/webapps/{アプリケーション名}/WEB-INF/classes
以下は、PDF変換サーバ(Windows) 3台で運用する場合のサンプルです。<?xml version="1.0" encoding="UTF-8"?> <!DOCTYPE properties SYSTEM "http://java.sun.com/dtd/properties.dtd"> <properties> <comment></comment> <!-- ============================================================================ クライアントモジュールの設定 ============================================================================ --> <!-- 変換対象の拡張子 --> <entry key="autoex.file.suffix">doc,docx,xls,xlsx,ppt,pptx,tif,tiff,xdw,xbd,bmp,jpg,png,gif</entry> <!-- ============================================================================ サーバモジュールの設定 ============================================================================ --> <!-- PDF変換サーバの台数 --> <entry key="autoex.num">3</entry> <!-- 1台目のサーバの設定 --> <!-- PDF変換サーバのIPアドレスまたはホスト名 + ポート番号 --> <entry key="autoex.1.host">192.168.0.1:8080</entry> <entry key="autoex.2.host">192.168.0.2:8080</entry> <entry key="autoex.3.host">192.168.0.2:8080</entry> </properties>