Authorization
Items
To set the access privileges of a screen
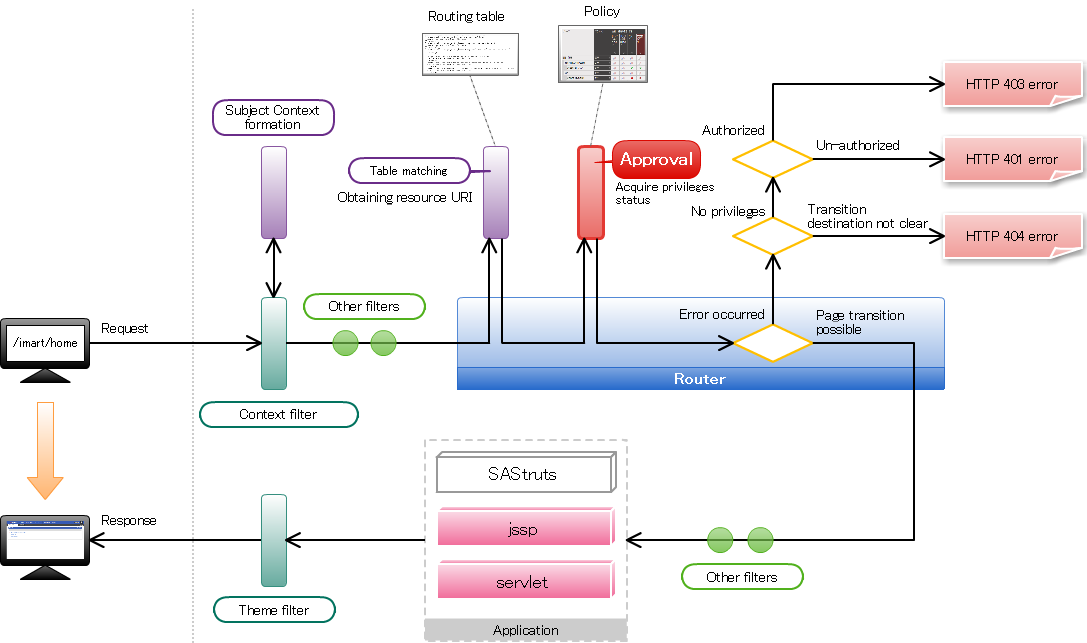
The access to the screen depends on the router settings.However, the screen can be displayed to anyone since “Authorization Process” is omitted if the welcome-all mapper is used by the routing table.While practically operating the system, in most of the cases the access is controlled by setting the access rights and displaying the screen to specified users only.This chapter explains the procedure by which the screen is displayed to specified users only, using the authorization function provided by AccelPlatform.
Authorization
Policy
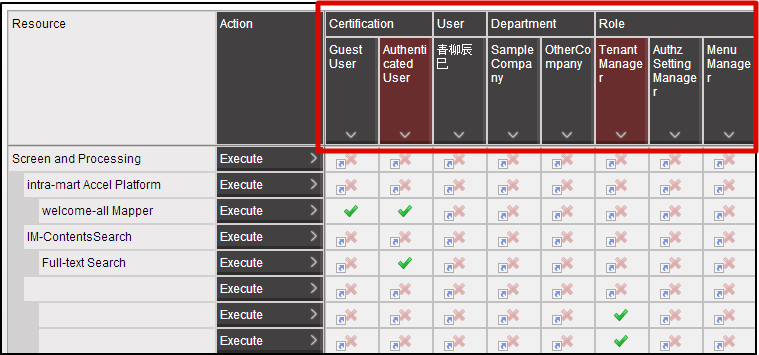
“Policy” in authorization shows the “Allow”, “Prohibit” part stated above.Policy can be set for each combination of subject/resource/action.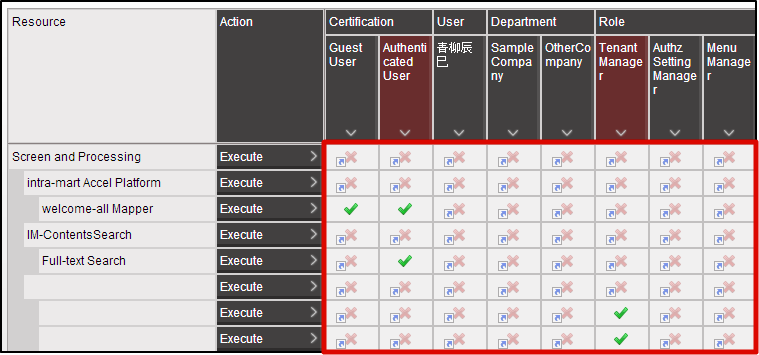 When policy is not set, the privileges of resource group in parent hierarchy are transferred.When policy of the resource group in topmost hierarchy is not set, it is considered as “Prohibit”.
Authorization setting method to access the screen
Flow of privilege setting
In a router, authorization to privileges is asked based on the information set in routing table.In case of inquiry, use the URI allocated for each resource as a key. The operation procedure for privilege setting of screen is as follows.
- Associate Authorization to Routing Table
- Create resource group, resource for authorization
- Import resource
- Set privileges for resources
Step 1: Associate Authorization to Routing Table
Mention the authz tag in routing table to associate with the authorization.<?xml version="1.0" encoding="UTF-8"?> <routing-jssp-config xmlns="http://www.intra-mart.jp/router/routing-jssp-config" xmlns:xsi="http://www.w3.org/2001/XMLSchema-instance" xsi:schemaLocation="http://www.intra-mart.jp/router/routing-jssp-config routing-jssp-config.xsd"> <file-mapping path="/app/foo" page="business/foo" /> <authz uri="service://sample/foo" action="execute" /> </file-mapping> </routing-jssp-config>Warning
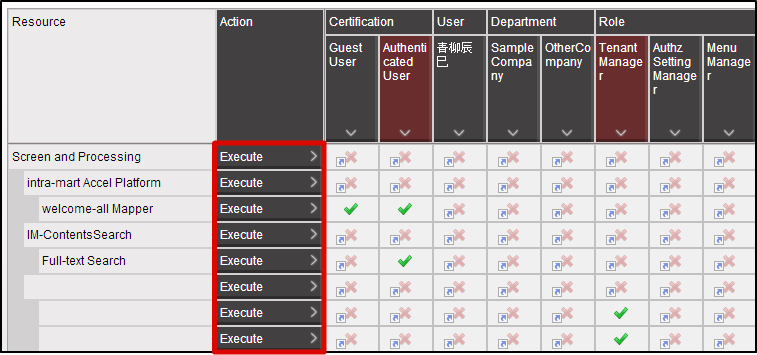
Save it with character encoding as UTF-8.Delete <authz-default mapper=”welcome-all” />.In case of screen, specify the string starting with “service://” in uri attribute.This “service” is the string which displays “resource type” and it also represents “Screen/Process”.In resource type, only “execute” is provided as the action.Therefore, “execute” is specified in action attribute.
Step 2: Create resource group, resource for authorization
Register the resource group and resource for authorization in order to associate the authorization with the screen created in sample.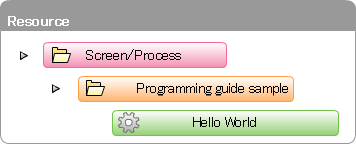 Register the resource group first.Create the blank <authz-resource-group.xml> file. Enter the following and save.<?xml version="1.0" encoding="UTF-8"?> <root xmlns="http://www.intra-mart.jp/authz/imex/resource-group"> <authz-resource-group id="guide-sample-service"> <display-name> <name locale="ja">Sample of programming guide</name> </display-name> <parent-group id="http-services" /> </authz-resource-group> </root>
Warning
Save it with character encoding as UTF-8.Note
Optional ID can be specified in the id attribute of authz-resource-group tag.Specify the “http-services” in id attribute of parent-group tag.Next, create the blank <authz-resource.xml> file. Enter the following and save.<?xml version="1.0" encoding="UTF-8"?> <root xmlns="http://www.intra-mart.jp/authz/imex/resource"> <authz-resource id="guide-sample-foo-service" uri="service://sample/foo"> <display-name> <name locale="ja">Hello World</name> </display-name> <parent-group id="guide-sample-service" /> </authz-resource> </root>Warning
Save it with character encoding as UTF-8.Note
Optional ID can be specified in the id attribute of authz-resource tag.Specify the value similar to uri attribute of authz tag which is specified in routing table in uri attribute.Specify the value similar to the id attribute of authz-resource-group which is created earlier in the id attribute of parent-group tag.
Step 3: Import resource
Place the <authz-resource-group.xml> and <authz-resource.xml> files created earlier directly under the <STORAGE_PATH>/public/storage.Login to the Accel Platform as the tenant administrator.http://<HOST>:<PORT>/<CONTEXT_PATH>/loginClick in the order of “Site map”→ “Tenant Management”→ “Job Management”→ “Jobnet settings”.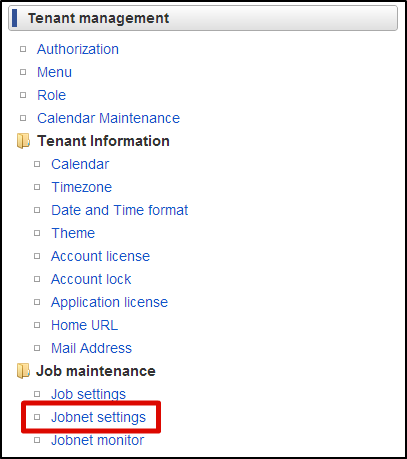 Select “Tenant master”-“Import”-“Authorization (Resource Group) Import” from “Jobnet list”.Click “Edit this Jobnet” button at the bottom of the screen.Select “Repetitive Specification” from the pull down of “Trigger Settings”. Click “New Registration” button.Click “OK” button after selecting the “Execute once only”.Click “Edit the Jobnet with this content” button after putting the check in “Valid” checkbox.Click “OK” button on the confirmation message.
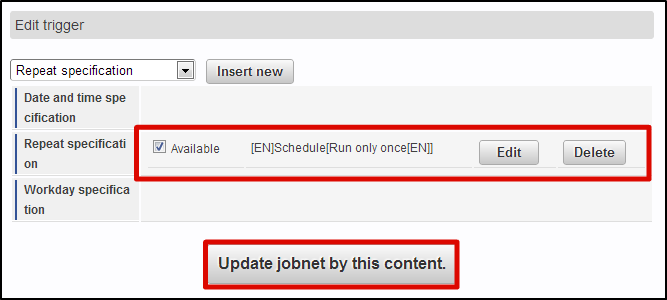 Select “Tenant master”-“Import”-“Authentication (Resource) Import” from “Jobnet list”.Perform the same operation and update the Jobnet.Click in the order of “Site map”→ “Tenant Management”→ “Job Management”→ “Jobnet Monitor”.2 columns of “Authentication (Resource Group) import”, “Authentication (Resource) import” are displayed in the list and confirm they are “Successful”.
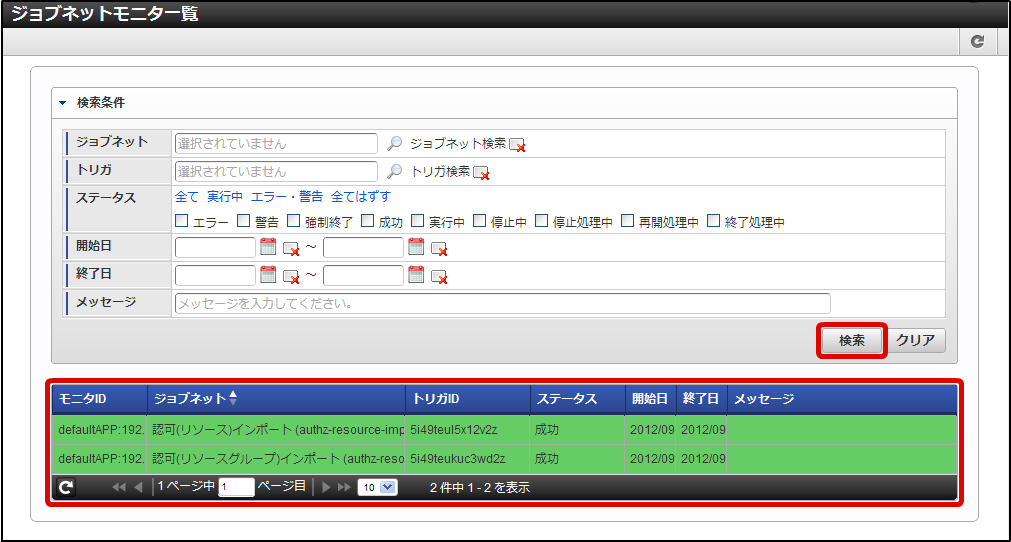 With this the resource is registered for authorization.Click in the order of “Site map”→ “Tenant Management”→ “Authorization”.Click “Search” icon on the left top of the screen as the authorization setting screen appears.Click “Search” button after entering “Hello” in the “Filter resources (vertical axis)” text box.
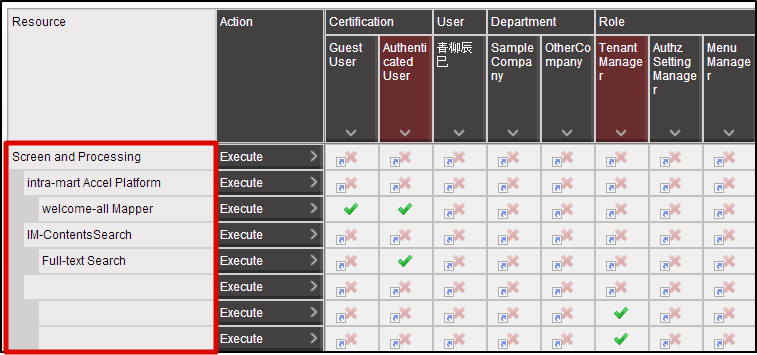
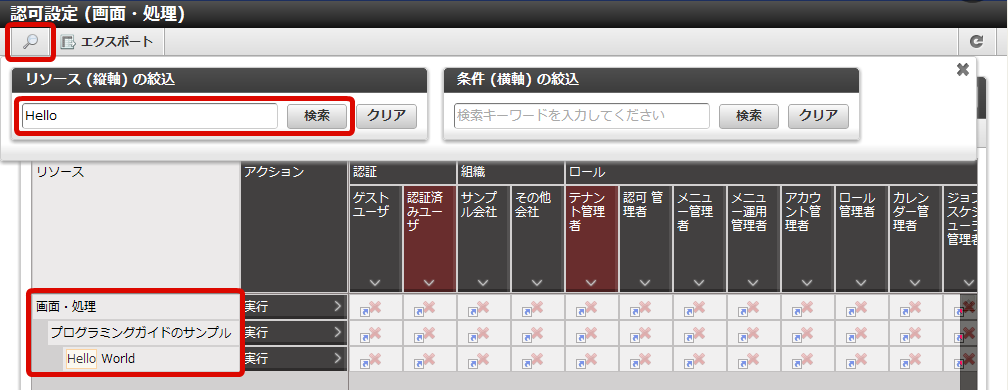 “Hello World” is displayed under “Programming Guide Sample” under “Screen/Process” of resource column.With this the registration of the resource for sample screen is complete.In this state, try to access http://<HOST>:<PORT>/<CONTEXT_PATH>/app/foo.It is confirmed that access is denied in case of HTTP 403.
Step 4: Set privileges for resources
Finally, carry out the authorization setting for “Hello World” from this authorization setting screen.Click in the order of “Site map”→ “Tenant Management”→ “Authorization”.Click “Search” icon on the left top of the screen as the authorization setting screen appears.Click “Search” button after entering “Hello” in “Filter resources (vertical axis)” text box. Click “Start Privilege Setting” button.Click on the cell that intersects the “Tenant Administrator” column and “Hello World” row, and change it to Green.
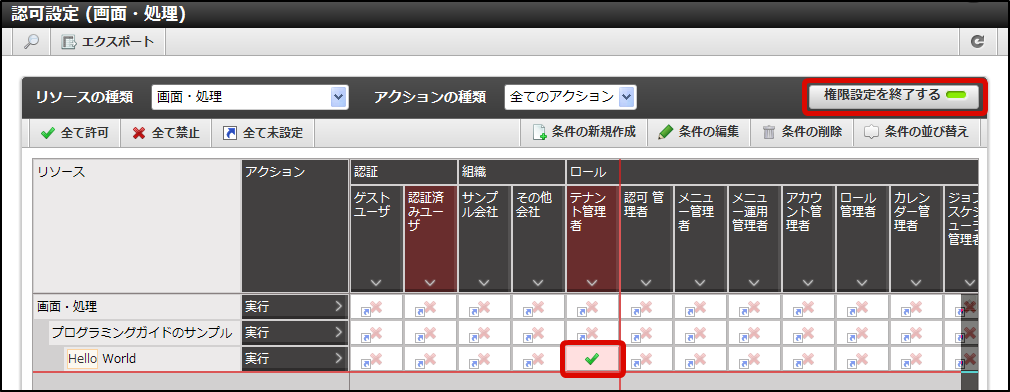 In this state, again try to access http://<HOST>:<PORT>/<CONTEXT_PATH>/app/foo.It is confirmed that this time it could be accessed.In this case, only the user playing the “Tenant Administrator” role can be displayed in the sample screen.
Note
Following points are confirmed in this tutorial
