Template Creation Tutorial
Users can create any template for the business skeleton and extend it.In this section business skeleton template which generates simple html file and js file is created,and you can experience how to extend business skeleton.
Flow of Tutorial
Create Plugin Project
Start from selecting [File] → [New Creation] → [Project] from the upper tool bar of e Builder.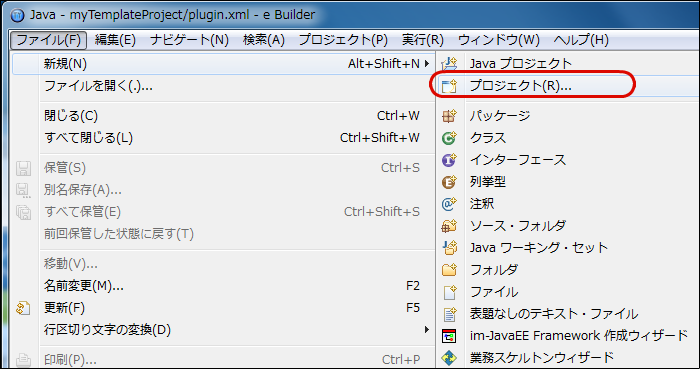 From the list, select [Plugin Development] → [Plugin Project].
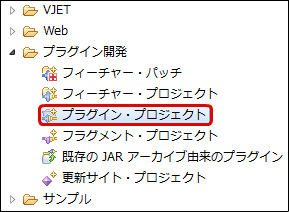 Project setting will be made. Here, project name is set to [myTemplateProject],、and other items are set as default. Proceed to the Next.
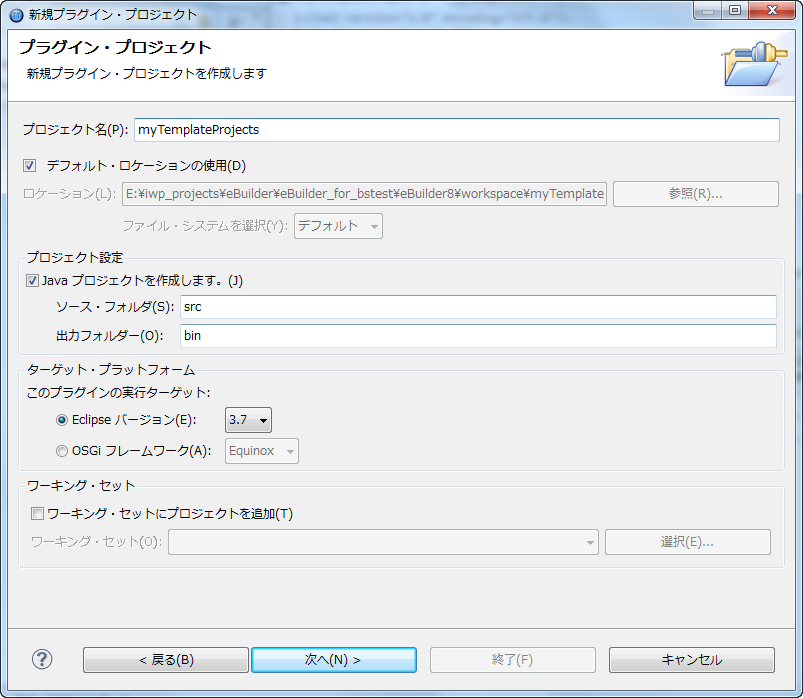 Plugin setting is made. Remove the checking on option items [Activator ...] and [Add this Plugin to UI],
and proceed to the Next.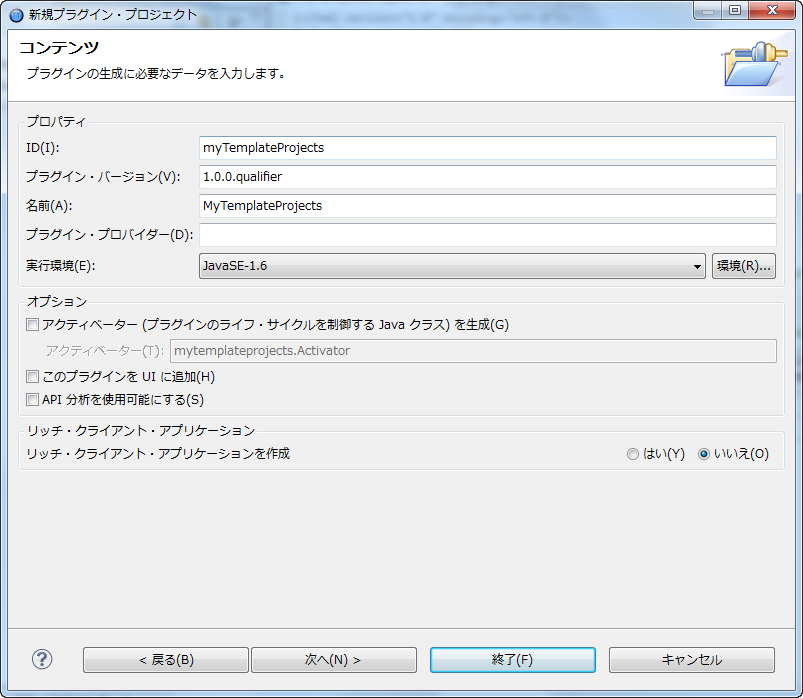 List of templates of plugin will be displayed. Select [Business Skeleton Template Plugin],
and proceed to Next.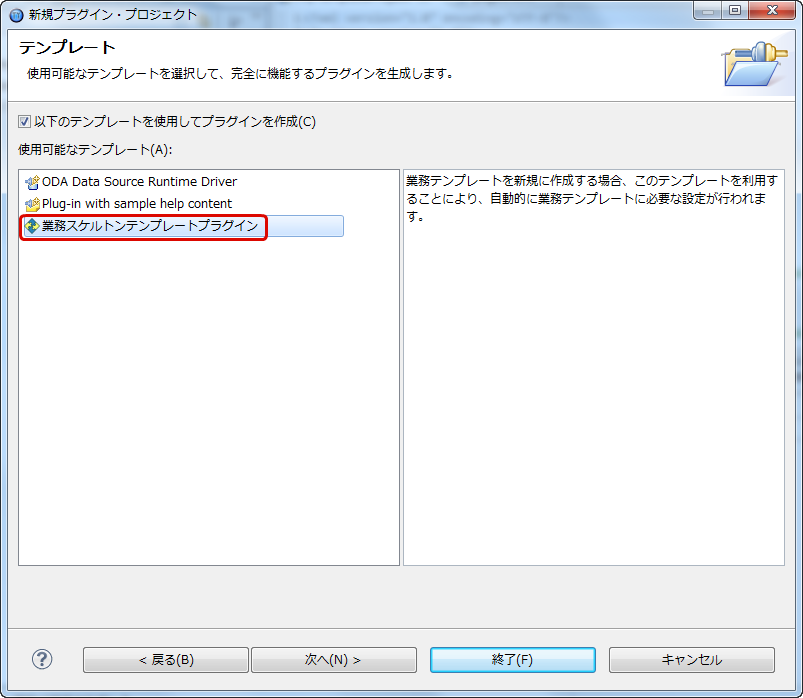 Setting of business skeleton is made. Enter any ID and name, and press the Finish button.
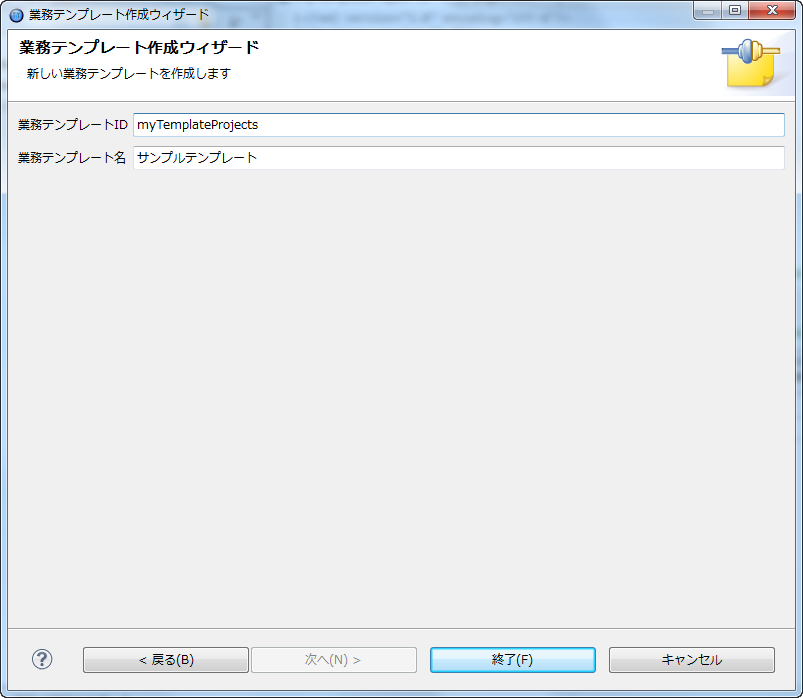 Plugin project for the business skeleton template is generated.
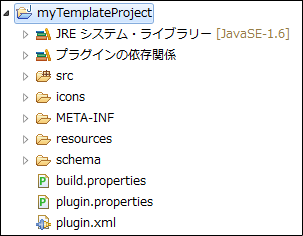
Execute Plugin Project
Now, let us run the plugin project that was just generated.Display plugin.xml, select the [Summary] tab,and select [Start Eclipse Application] in the Test item.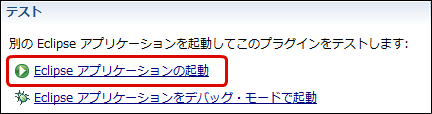 e Builder is newly started. Since there is no project at the initial start time,you should newly create the target module project (steps are omitted here).
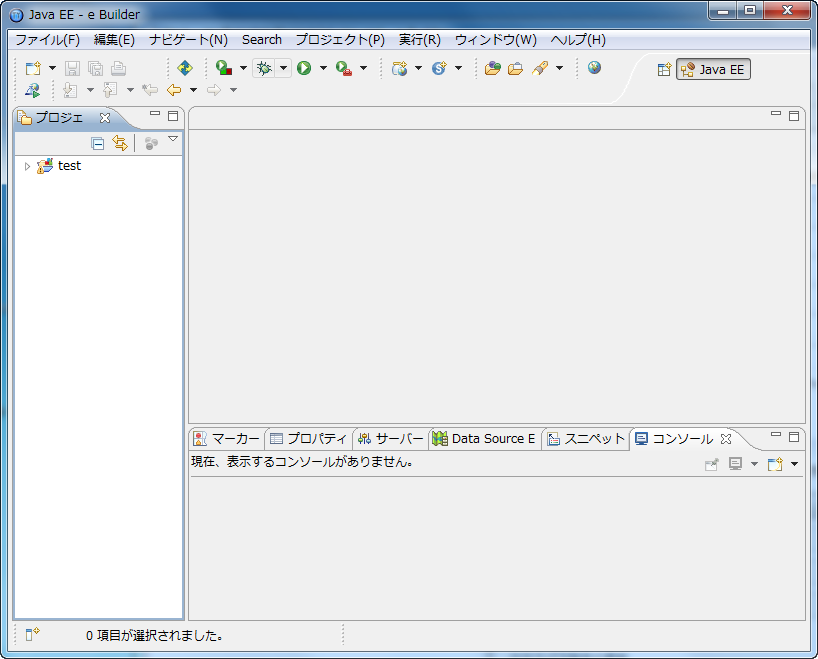 Execute business skeleton wizard.You should be able to see the created template on the template selection screen.Select the created template, and proceed to Next.
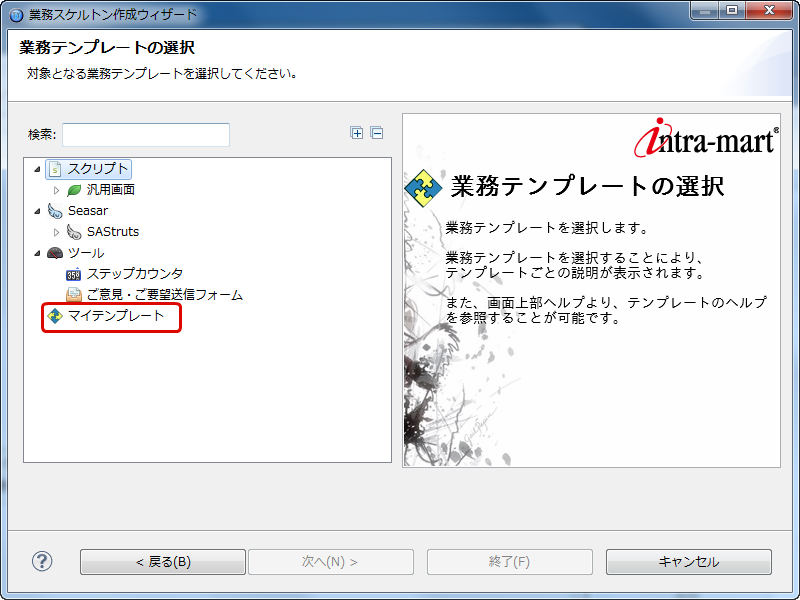 Summary page is displayed.Just proceed to Next.
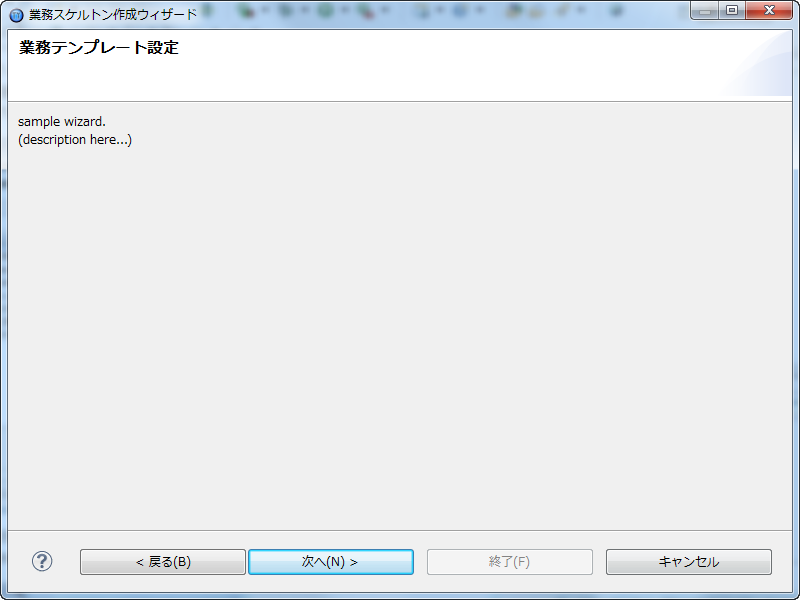 Business Template Setting Page is displayed.Put proper values to these items and proceed to Next.
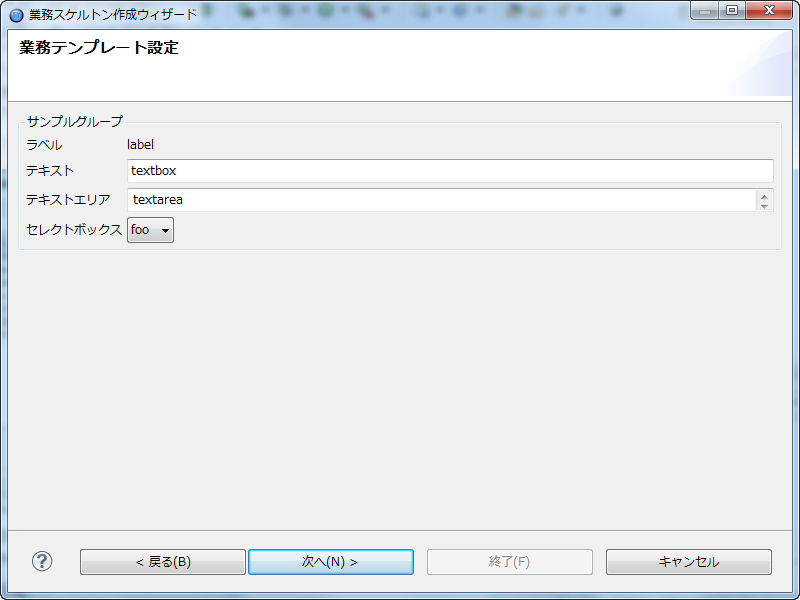 Confirmation page for the setting items is displayed.Press the Finish button to complete the wizard.
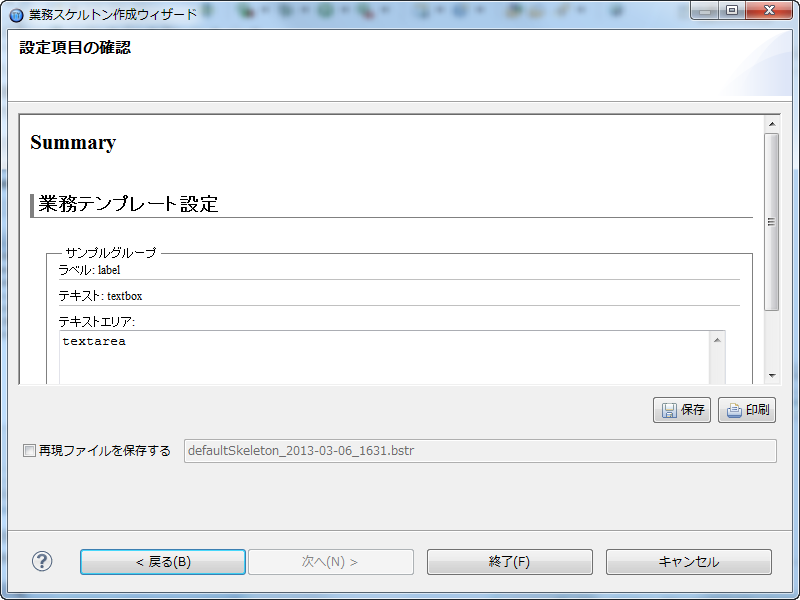 sample.txt is generated immediately under the plugin project, and you can confirm
that the input contents to the wizard are properly reflected.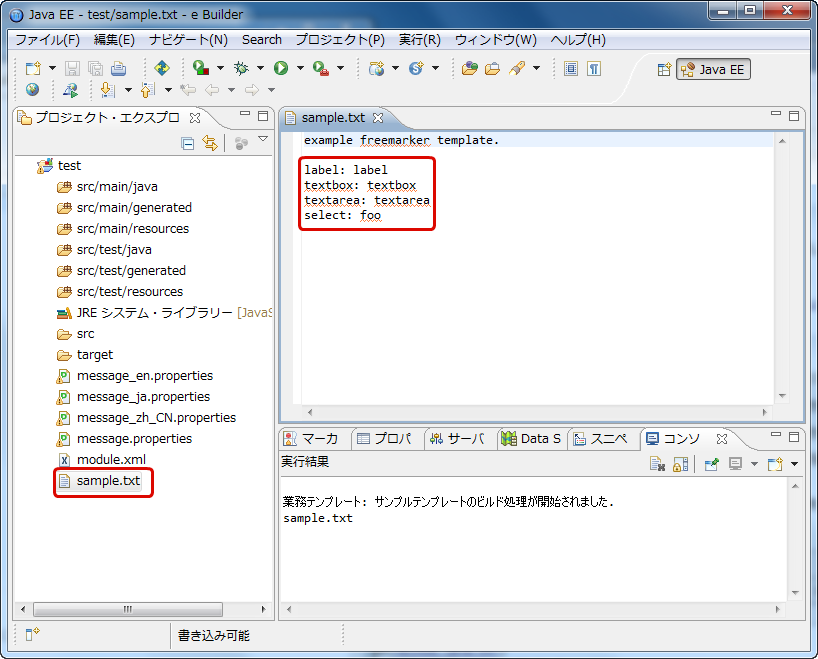
Customize Template
Now based on the project that was created in the previous section, let us customize it
to the template which will create simple screen (html) for script development and server side process (js).
Edit Wizard Page
When you open plugin.xml, and select [plugin.xml] tab, plugin.xml will be displayed on the xml Editor.If you look at <plugin>→<wizard> element in this xml, it should be as follows as a default.<wizard> <page class="jp.co.intra_mart.business.skeleton.ui.wizard.page.OutlineWizardPageProvider" resource="resources/wizardPages/page0.txt" id="page0"> </page> <page resource="resources/wizardPages/page1.xml" id="page1"> </page> </wizard>The page which is displayed in the wizard should be set in the wizard tag.The page tag describes the setting of the page to be displayed, andthe template file which is used for resource attribute is specified.Here, we do not edit them and use them as they are.Open the resources/wizardPages/page0.txt file, and state the description of this wizard.Here, put the following statement as an example.This is a template wizard created by the tutorial.Then, resources/wizardPages/page1.xml is displayed.It should look as follows as a default.<?xml version="1.0" encoding="UTF-8"?> <wizardPage xmlns="http://business.skeleton.intra-mart.jp/xsd/CompositeWizardDefinition" xmlns:xsi="http://www.w3.org/2001/XMLSchema-instance" xsi:schemaLocation="http://business.skeleton.intra-mart.jp/xsd/CompositeWizardDefinition ../../schema/CompositeWizardPageDefinition.xsd "> <group id="group" name="group"> <label id="label" name="label">label</label> <text id="text" name="text">textbox</text> <textarea id="textarea" name="textarea">textarea</textarea> <select id="select" name="select" selected="foo">{"foo", "bar", "baz"}</select> </group> </wizardPage>As shown above, input items of business skeleton wizard are entered and set by XML.Default setting as it is will not serve your purpose. Modify it as follows as an example.<?xml version="1.0" encoding="UTF-8"?> <wizardPage xmlns="http://business.skeleton.intra-mart.jp/xsd/CompositeWizardDefinition" xmlns:xsi="http://www.w3.org/2001/XMLSchema-instance" xsi:schemaLocation="http://business.skeleton.intra-mart.jp/xsd/CompositeWizardDefinition ../../schema/CompositeWizardPageDefinition.xsd "> <group id="group" name="Output File Setting"> <text id="fileName" name="File Name">tutorial</text> <text id="displayName" name="Screen Name">Tutorial</text> </group> </wizardPage>
Edit Builder
Then, let us customize the process to generate the files (hereafter called Builder).Please open plugin.xml, and see <plugin>→<builders>.It should look as follows as a default.<builders> <builder name="%builderName" resource="resources/builders/ant/build.xml" id="build"> </builder> <template Builder templateEncoding="UTF-8" name="%template BuilderName" template="resources/builders/templates/sample.ftl" id="template"> <output> "sample.txt" </output> </template Builder> </builders>The code above includes 2 descriptions ___ execution of ant and the generation of template file.Here, execution of ant will not be described.Since html file and js file are generated in this tutorial, you should make the modifications as below.<builders> <template Builder templateEncoding="UTF-8" name="Tutorial html" template="resources/builders/templates/tutorial_html.ftl" id="template"> <output> "src/main/jssp/src/" + page1.group.fileName + ".html" </output> </template Builder> <template Builder templateEncoding="UTF-8" name="Tutorial js" template="resources/builders/templates/tutorial_js.ftl" id="template"> <output> "src/main/jssp/src/" + page1.group.fileName + ".js" </output> </template Builder> </builders>Template file name used for the template attribute of template Builder should be specified.For the output tag, please enter the absolute path to the project of generated file from the root.At this time you can use the value entered on the wizard page as a variable.In this example, variable [page1.group.fileName] is used, which meansid is [page1] of wizard page, and the value of [id=fileName] within [id=group], which actuallyindicates the input value of [File Name].
Edit Template File
Now, let us create the template for each file specified in the template attribute shown above.First, please newly create the file resources/builders/templates/tutorial/tutorial_html.ftl, and edit it as follows.<#ftl encoding="UTF8" strip_whitespace=false strip_text=false strict_syntax=true /><#t> <!-- HEAD tag --> <imart type="head"> <title>${page1.group.displayName}</title> </imart> <!-- Title displayed on the Screen --> <div class="imui-title"> <h1>${page1.group.displayName}</h1> </div> This page is created by the tutorial.Contents of the generated file are described in the template file.Reference to the variable is made by enclosing with ${}.${page1.group.displayName} specified in this example refers to the value of screen name of the wizard page.Likewise, please newly create the file resources/builders/templates/tutorial/tutorial_js.ftl, and edit it as follows.<#ftl encoding="UTF8" strip_whitespace=false strip_text=false strict_syntax=true /><#t> /** * @fileoverview ${page1.group.displayName}Screen. */ /** * Initialization Process. * * Initialization process for displaying the registration screen is made.<br /> * * @param {Request} request Request Information * @type void */ function init(request) { }Now, it should at least work. Let us actually run it.You should run the plugin project just as before, and start the business skeleton on the separately started e Builder.
Then, if you select the created template, statement which was set in page0.txt is displayed on the template explanation page.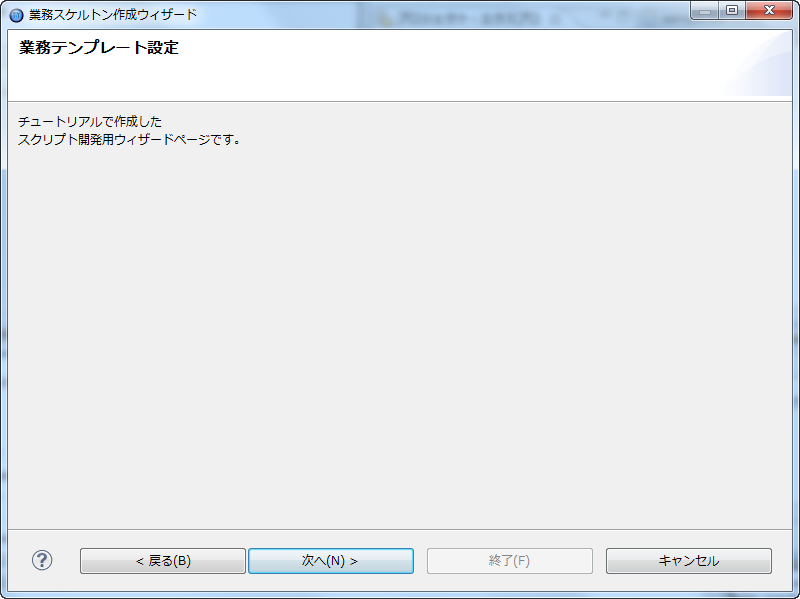 You can see that the element set in page1.xml is placed on the template setting page.You can change the file name and the screen name to any desired character string, proceed with the wizard to perform output.
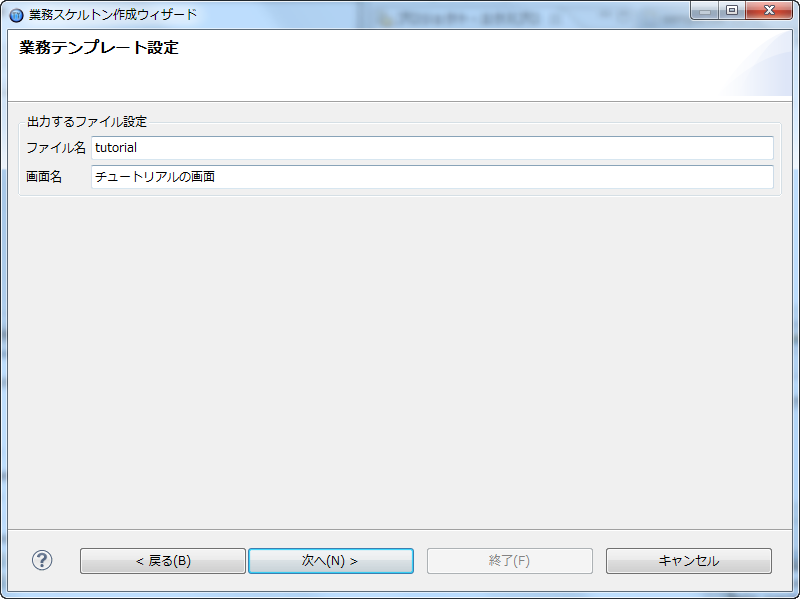 This is the output result. html and js files were generated with the specified file names under src/main/jssp/src.
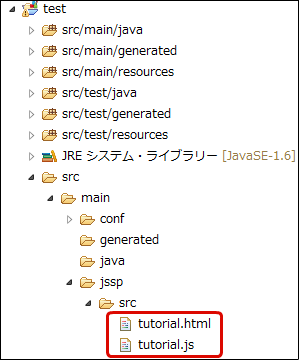 This is the output result of html file.You can see that the variables are replaced with the input values of wizard.<!-- HEADタグ --> <imart type="head"> <title>Tutorial Screen</title> </imart> <!-- Title displayed on the Screen --> <div class="imui-title"> <h1>Tutorial Screen</h1> </div> This is the page created by the tutorial.This is the output result of js file.Variables are replaced likewise./** * @fileoverview Tutorial Screen. */ /** * Initialization Process. * * Initialization process for displaying the registration screen is performed.<br /> * * @param {Request} request リ\Request Information * @type void */ function init(request) { }
Column
In this tutorial following points have been confirmed.By creating the template that generates simple html and js files for script development, basic flow for
extending the business skeleton is understood.
Reference to Business Skeleton Guide
We have shown simple method for creating the business skeleton template.
We recommend that you read the Business Skeleton Guide to create more practically useful template.From the upper menu of e Builder, select [Help] → [Help Table of Contents].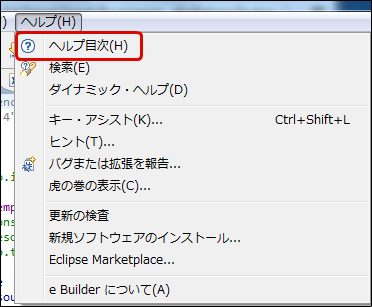 Help screen is displayed. Select [Business Skeleton Guide] from the Index.
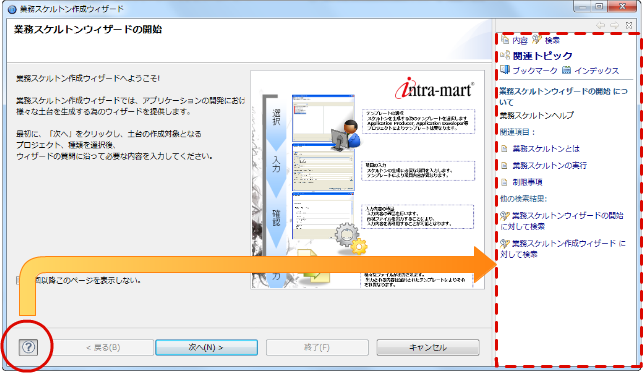
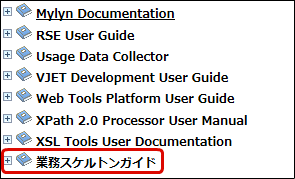 You can also access the Guide by pressing [?] button on the lower left of business skeleton wizard.