Route definition
Route maintains the flow right from the application upto the final approval.
The settings of each node defined in route definition can be used in the flow definition where route definition is used.
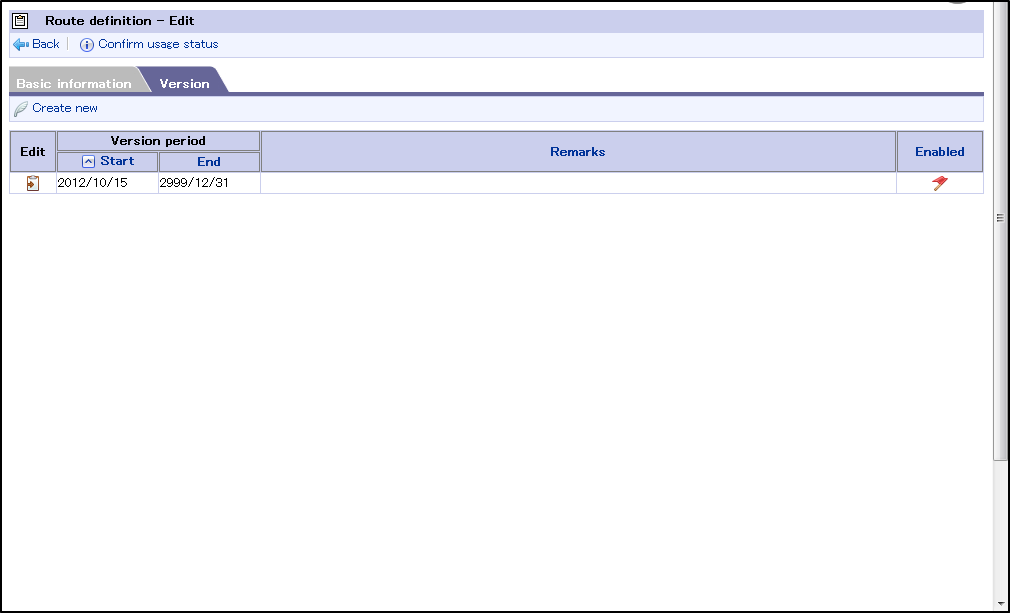
Moreover, the route definition is managed as per the “Version” that is distinguished according to the period information. The settings can be changed partially as per the period information of the version.
Setting the route definition
Click “Site map” → “Workflow” → “Workflow administrator” → “Master definition” → “Route definition”.
Click “Create New”.

Enter basic information.
Click “Register”.
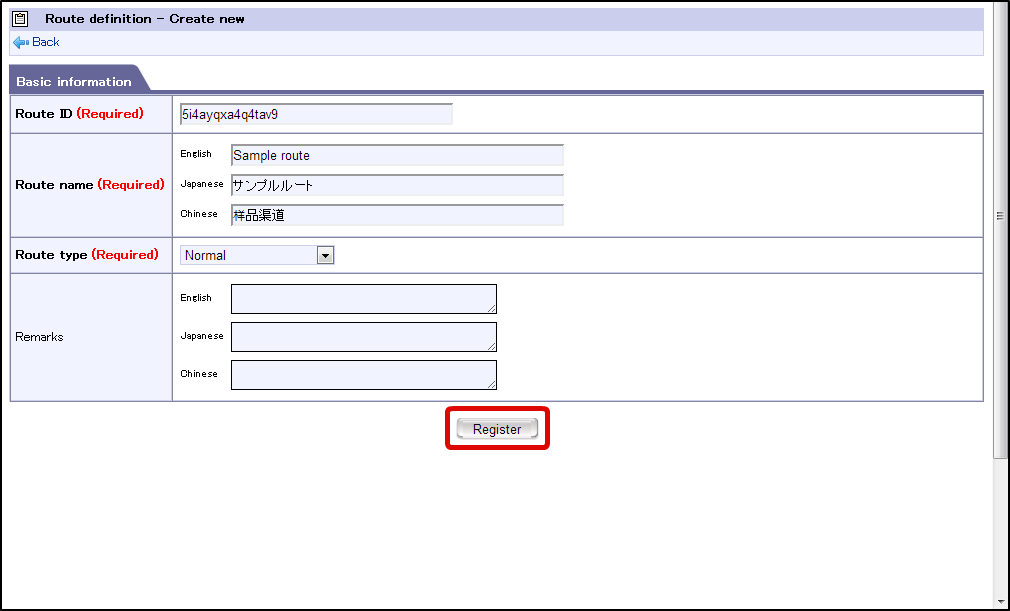
Route definition information is registered.
Click “Create New”.
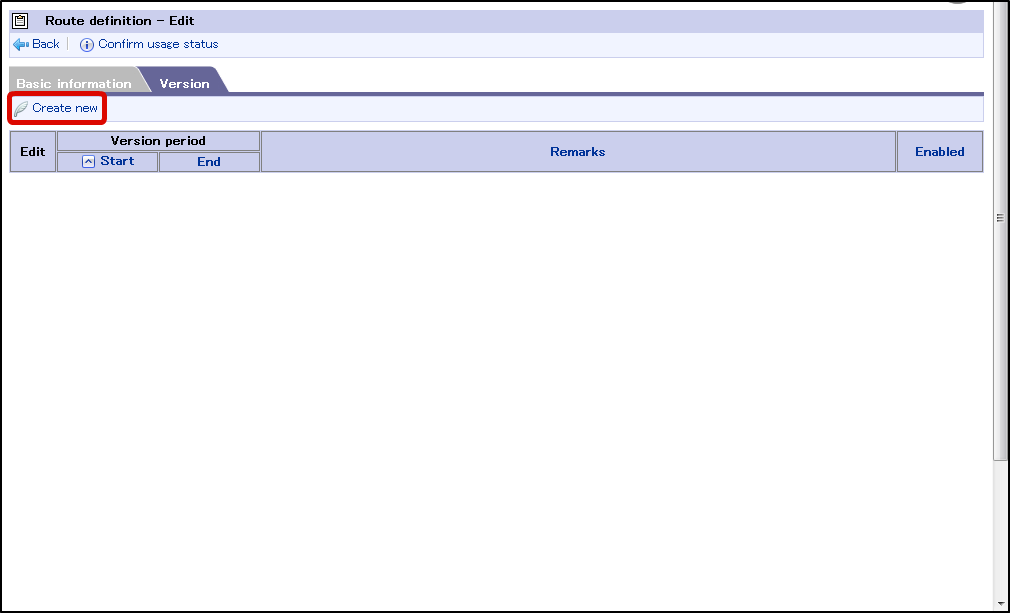
Then proceed with “Setting route details”.
Setting the route details
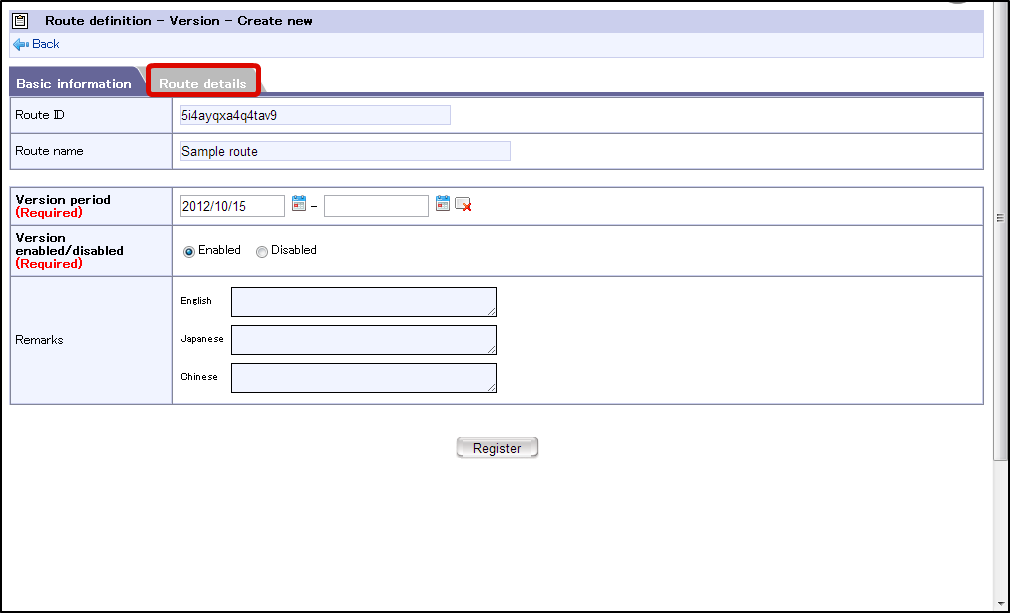
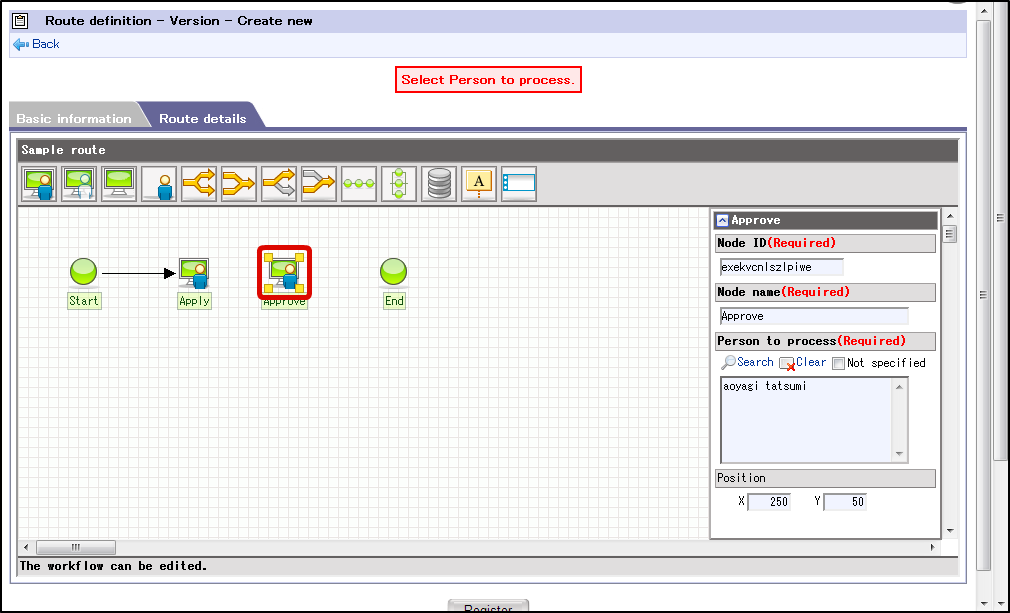
Click “Route details”.
icon of the application displayed in the grid.
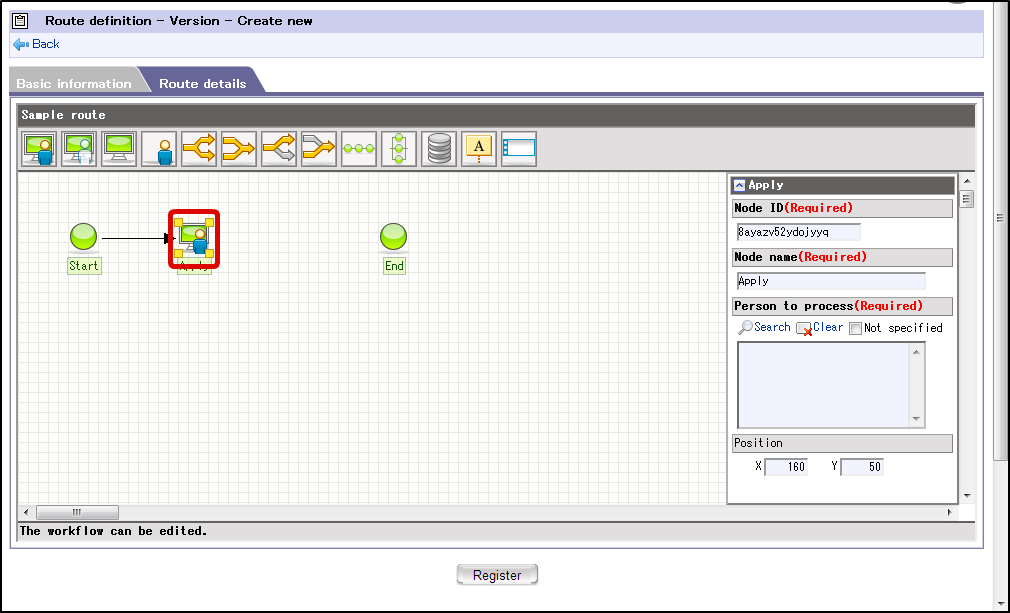
Click “Search” from process target user.
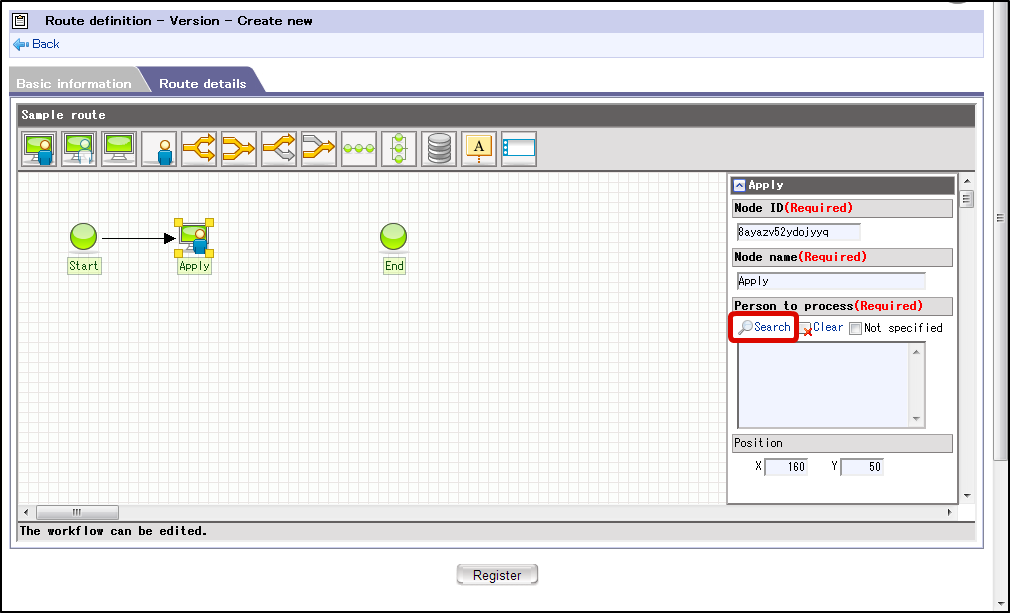
In the process target user column, click the
icon to search the respective item.
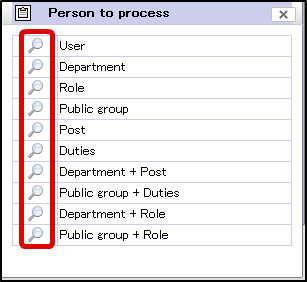
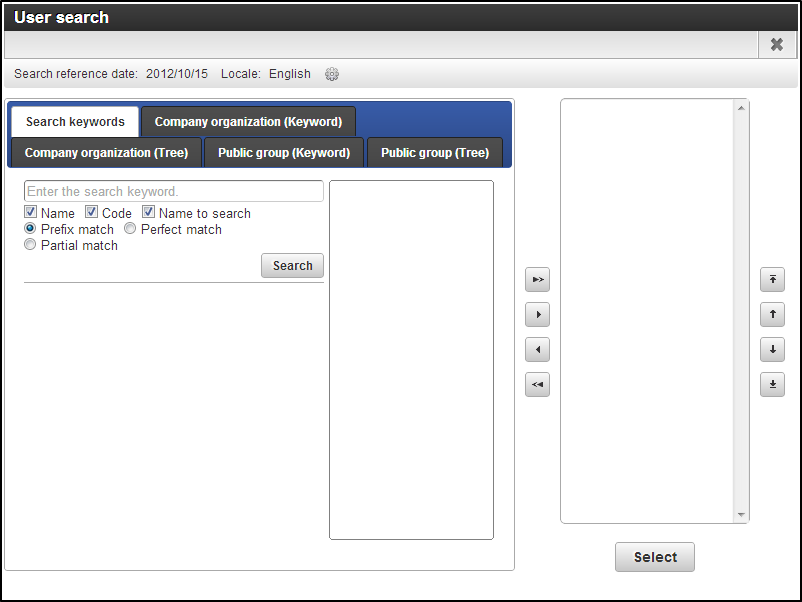
Set the target users of the process from the Search screen of IM-Common master.
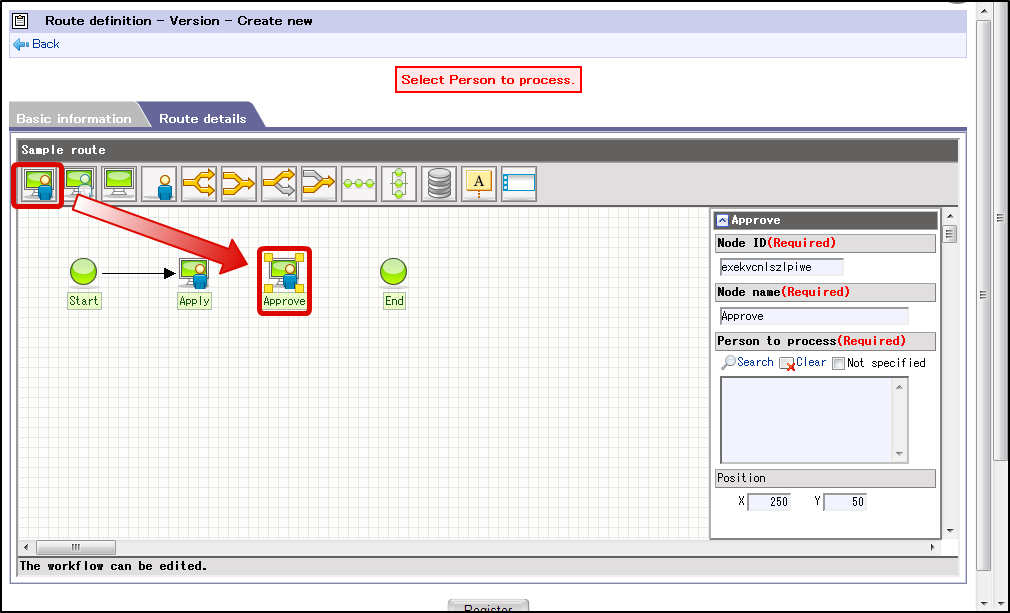
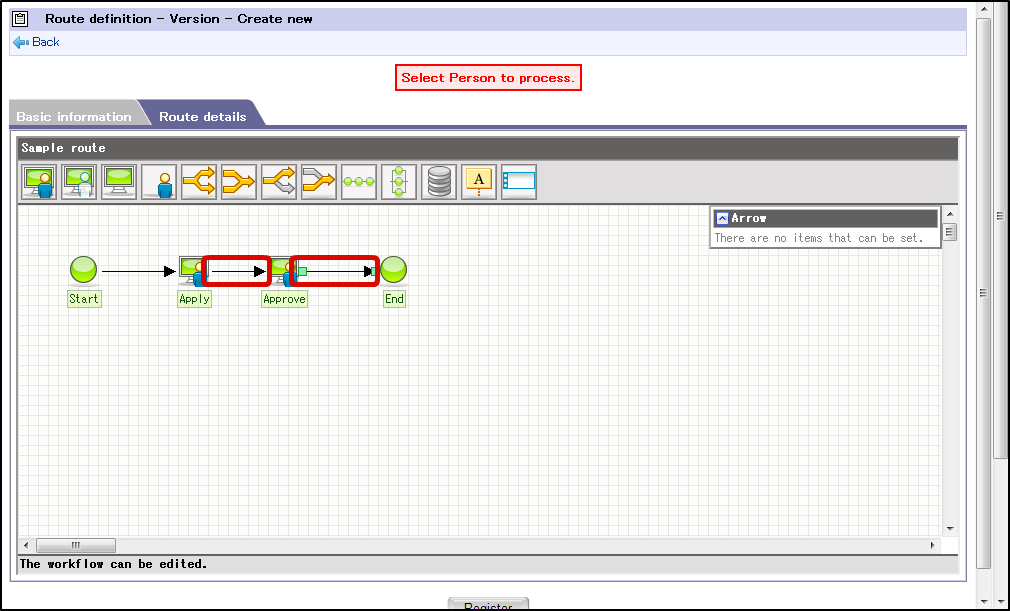
is displayed on the upper right corner of the icon. User can connect to the next node by using drag and drop.
Click “Register”.
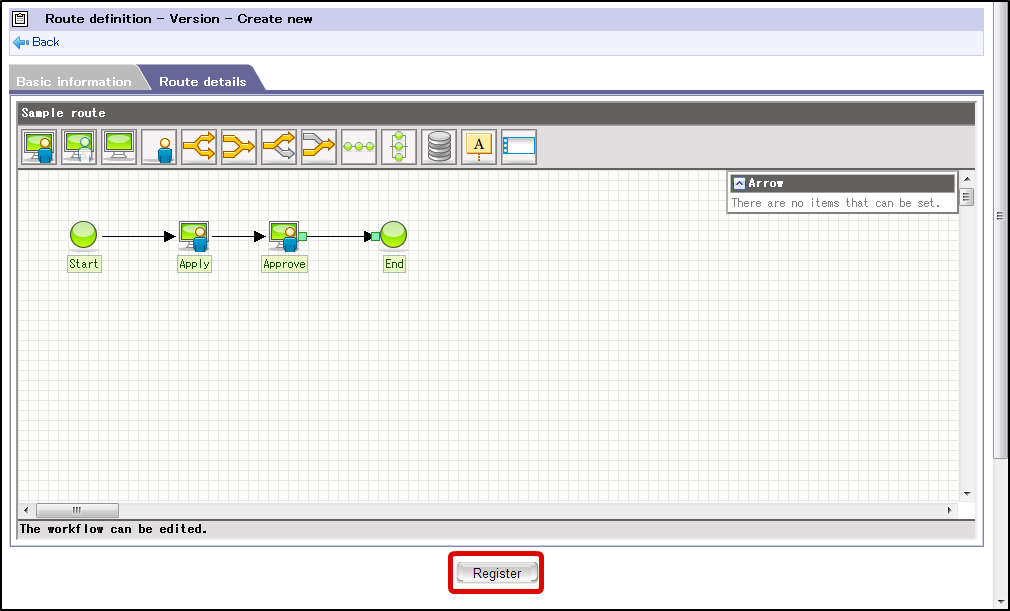
Basic information, route details information is registered.
With this, the route definition is registered.