Basic procedure to create a flow in IM-BIS
Flow can be created in IM-BIS by operating according to the screen transitions.The basic steps for creation is described below.
Contents
Register BIS definition (Basic information of flow)
At first, enter the basic information like name and type of the flow.
Click “Site map” -> “IM-BIS” -> “Business Manager” -> “IM-BIS Creation” -> “IM-BIS”.
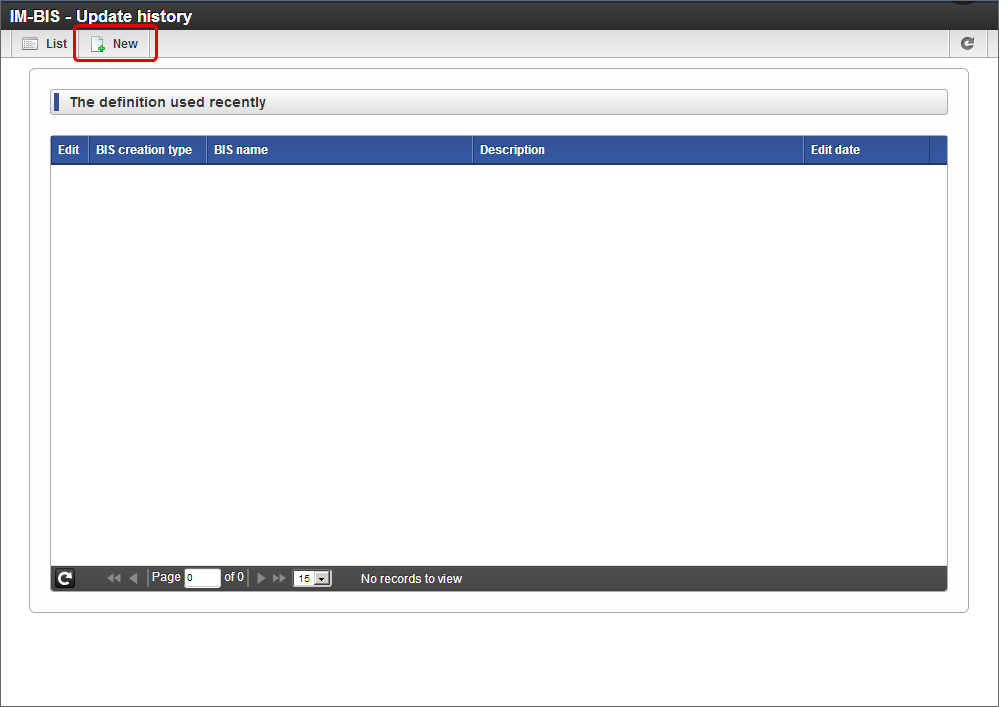
Click “New” in “IM-BIS - Update history”.
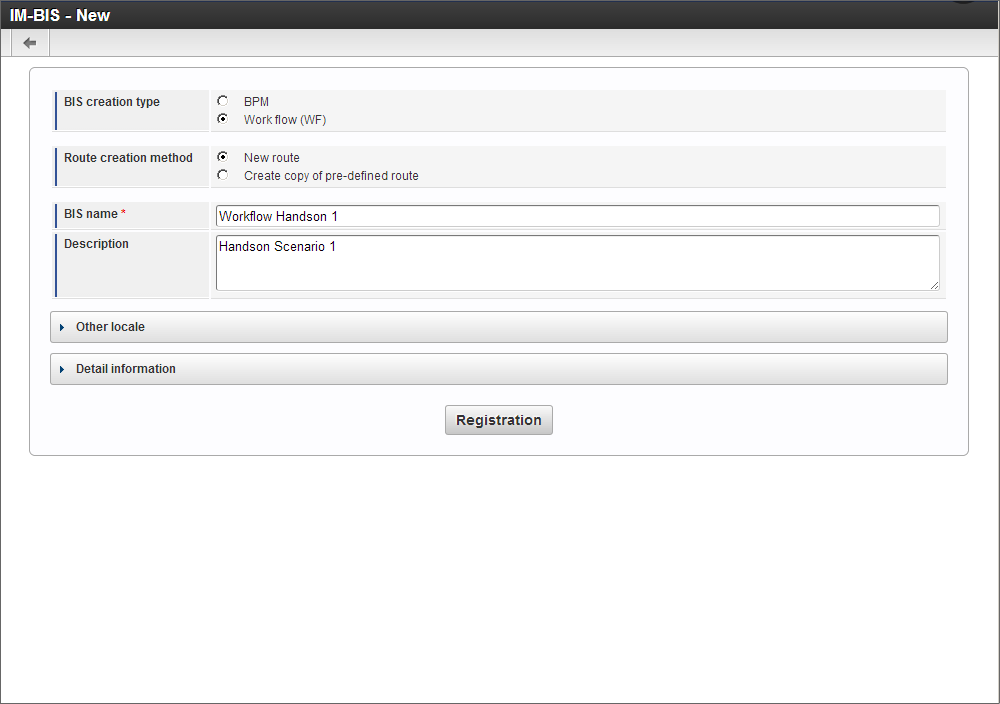
Enter as follows in the “IM-BIS - New” screen.
- BIS creation type: Workflow (WF)
- Route creation method: New route
- BIS name: Workflow Handson 1
- Description: Handson Scenario 1
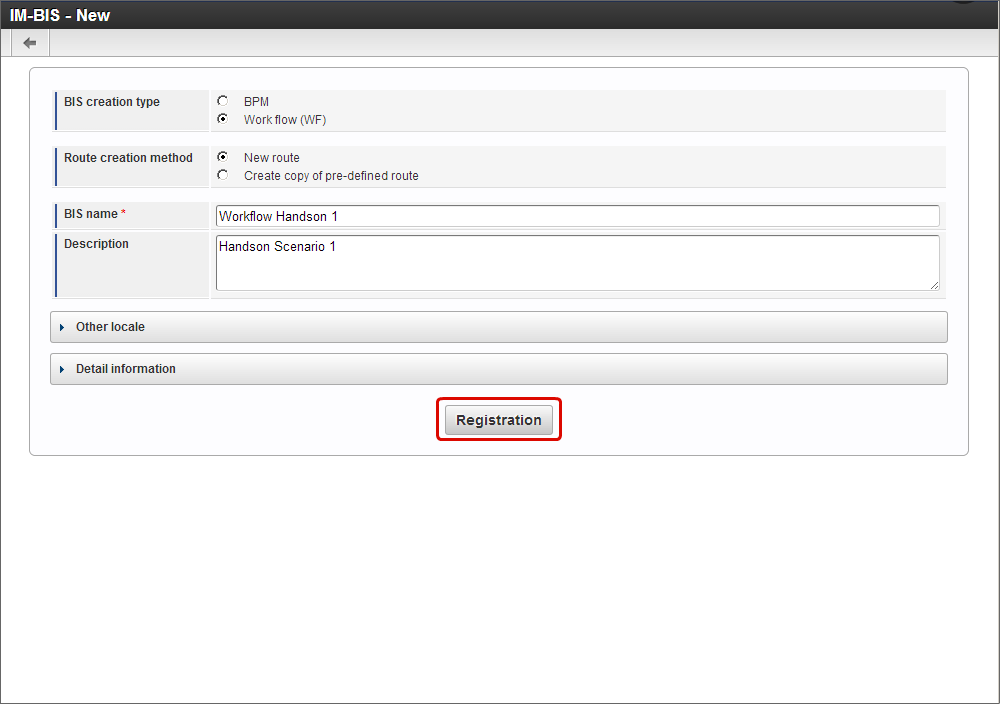
Click “Registration” when inputs of “IM-BIS - New” screen are complete.
Set the Person to process and route to be used in the flow
Define processing flow (process) of the flow as the route and set operator (Person to process) for each task.In this scenario, create route of the application -> approval -> approval flow.
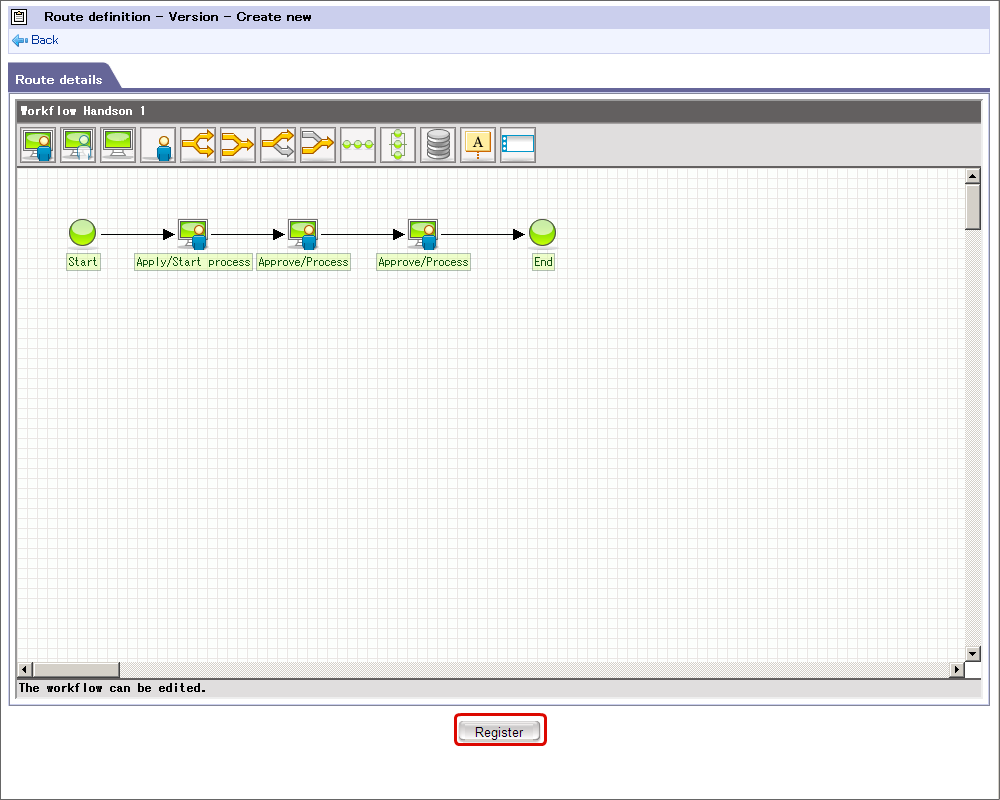
Start node, end node, application node (task) are arranged on the “Route definition - Version - Create New” screen.
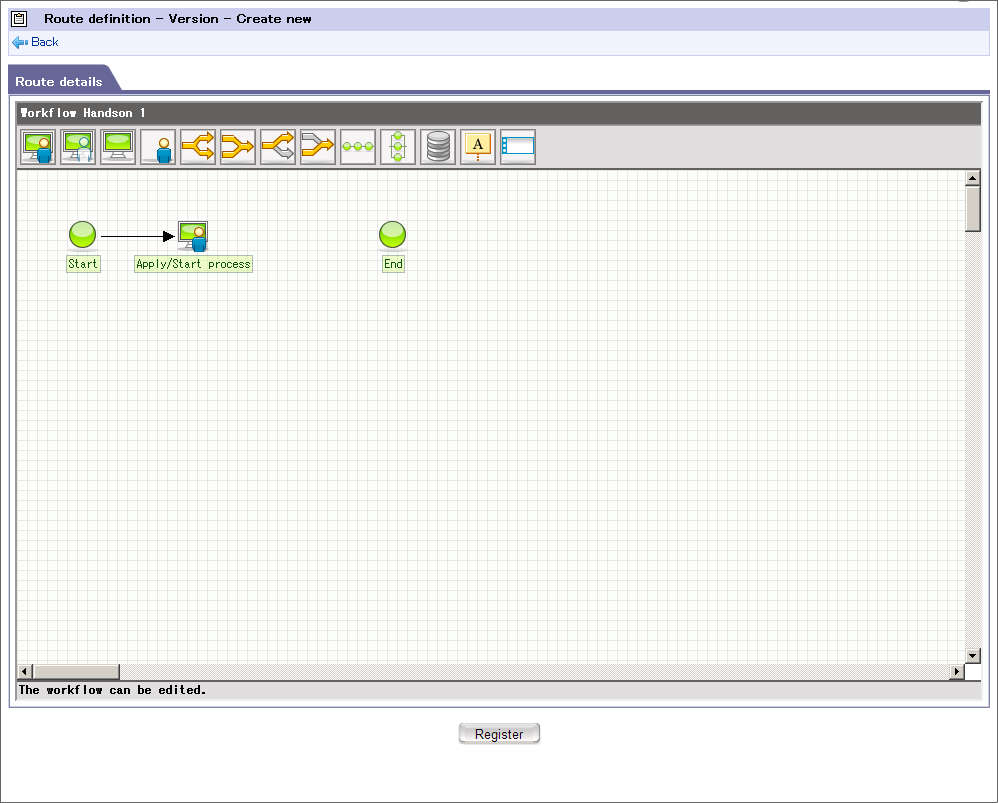
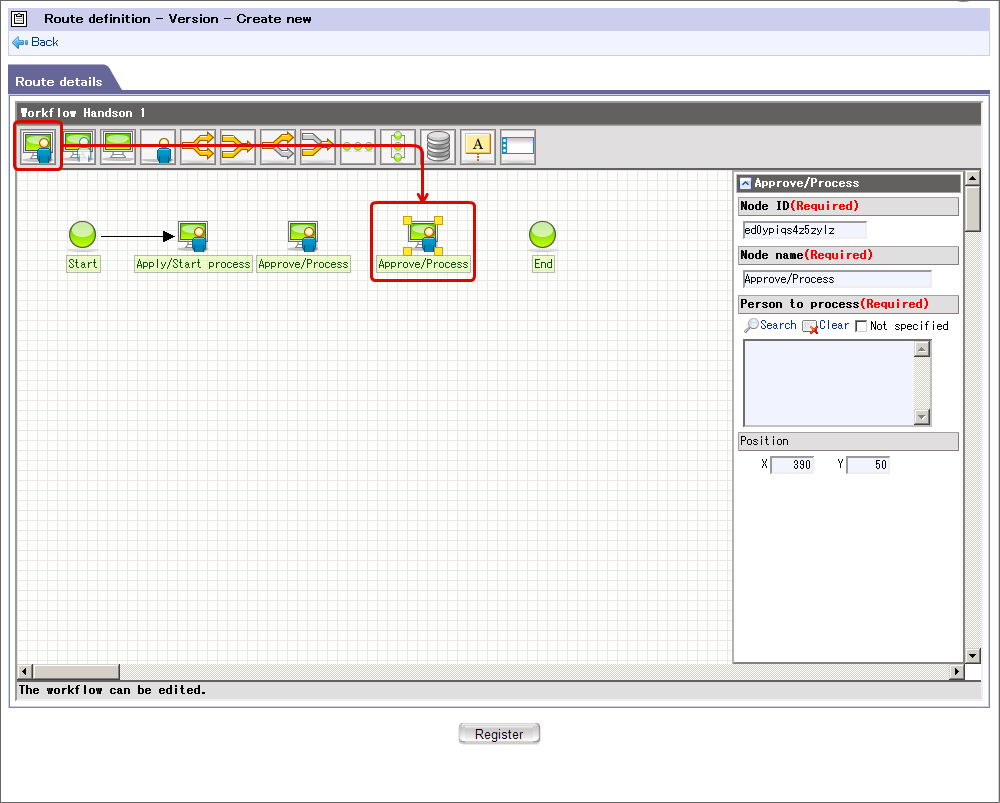
Place the “approval”icon from the icons arranged at the top by dragging over the grid.

Similarly, drag and place another “approval” icon over the grid.
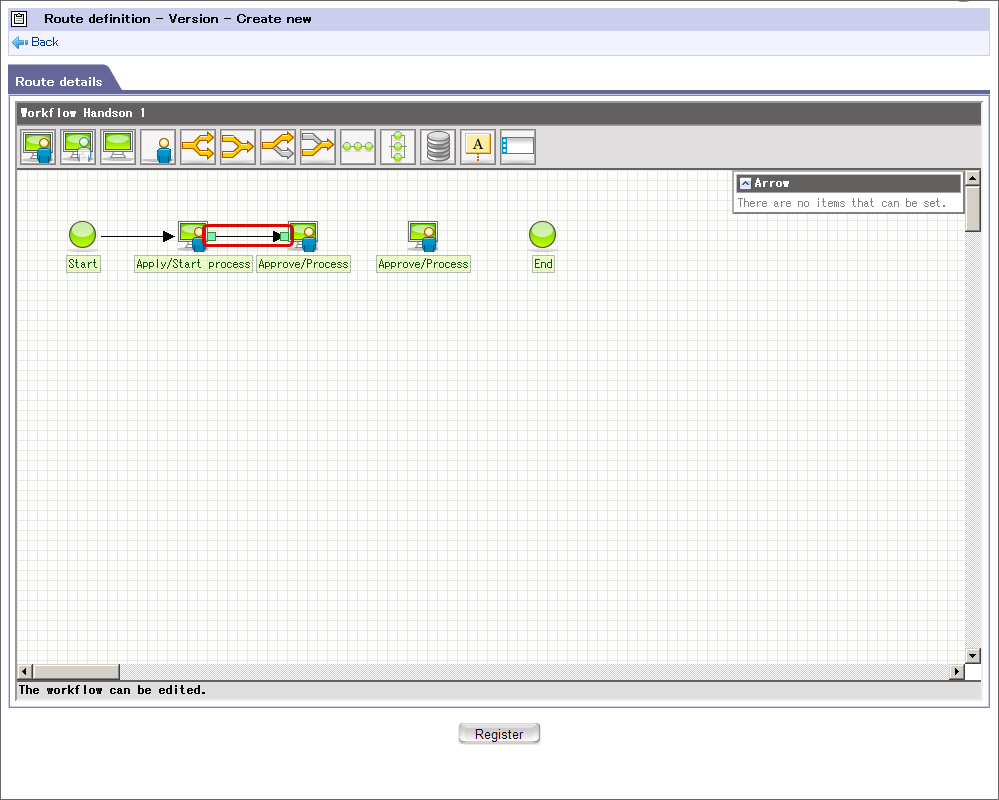
If mouse is placed over the application icon,
is displayed at top-right.
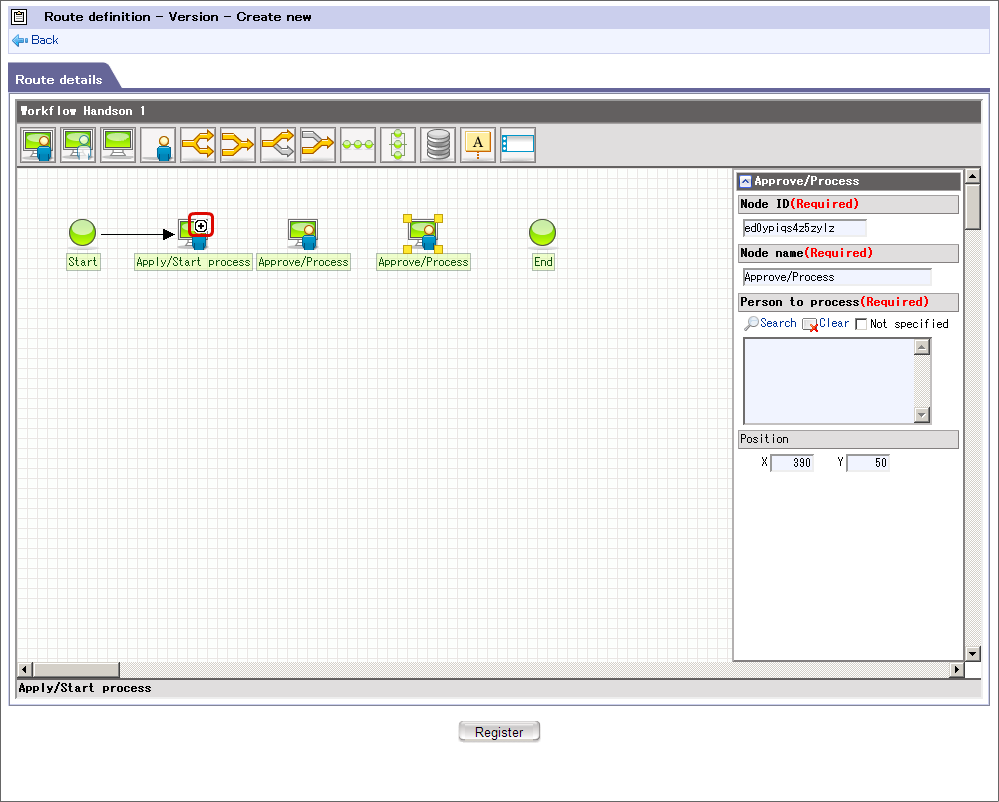
Drag
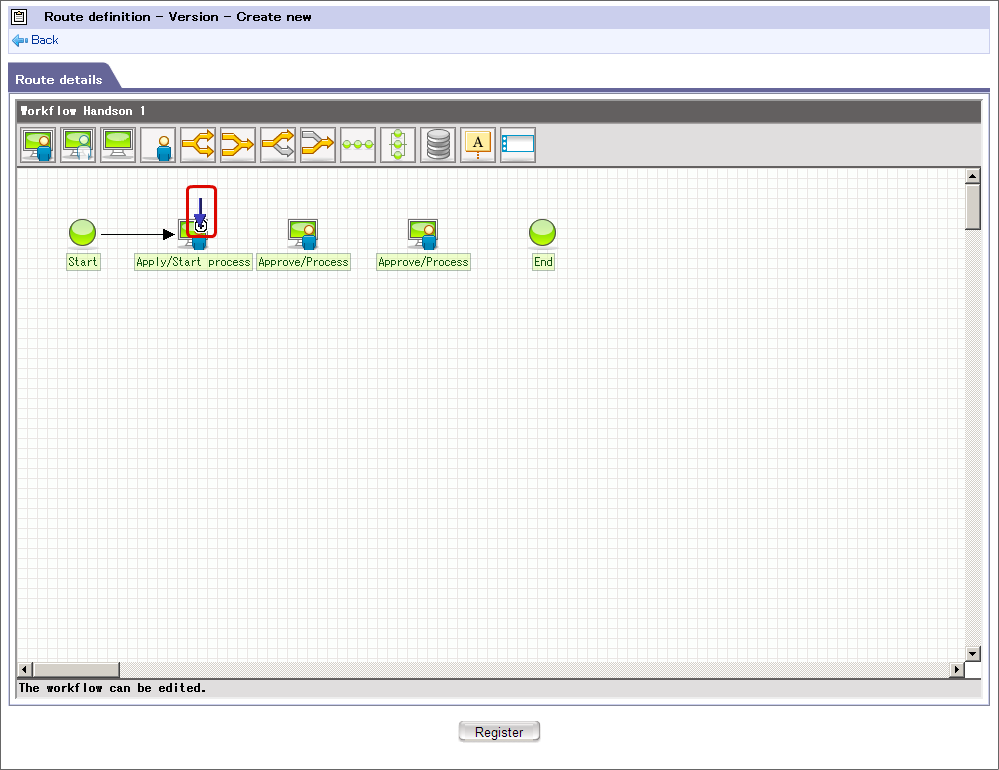
If the tip of the arrow is dropped over approval node (task), node can be connected to the node.
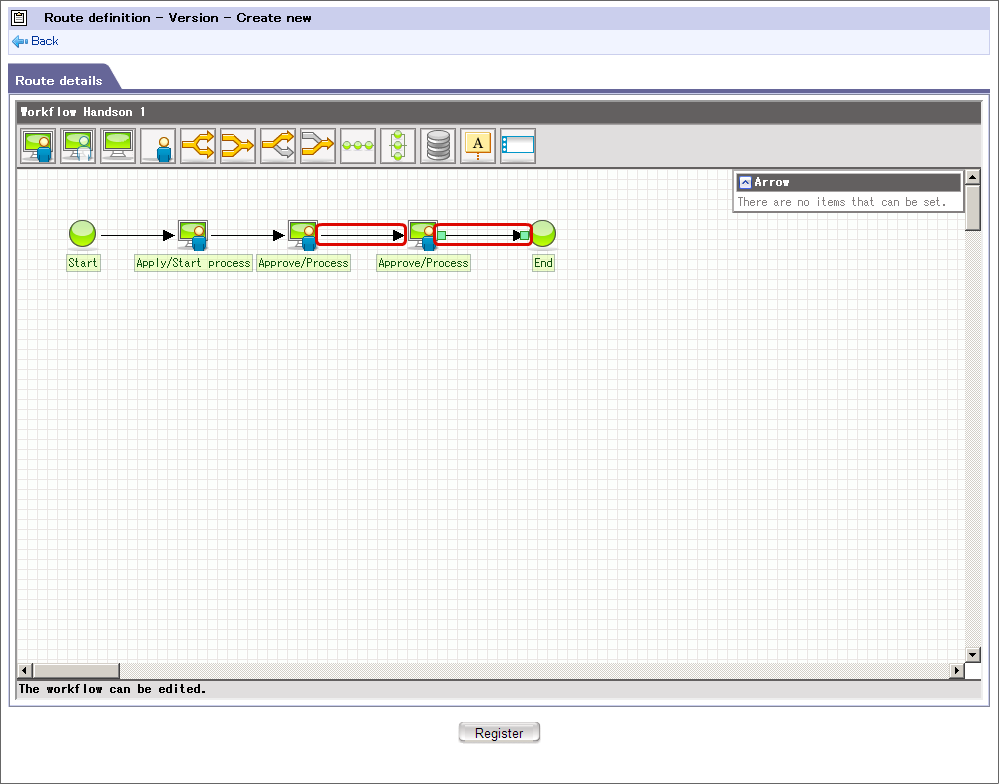
Connect second and third approval node(task), third approval node (task) and end node by the same procedure.
Note
- It is required to cancel the browser pop up blocker while searching person to process of route settings.
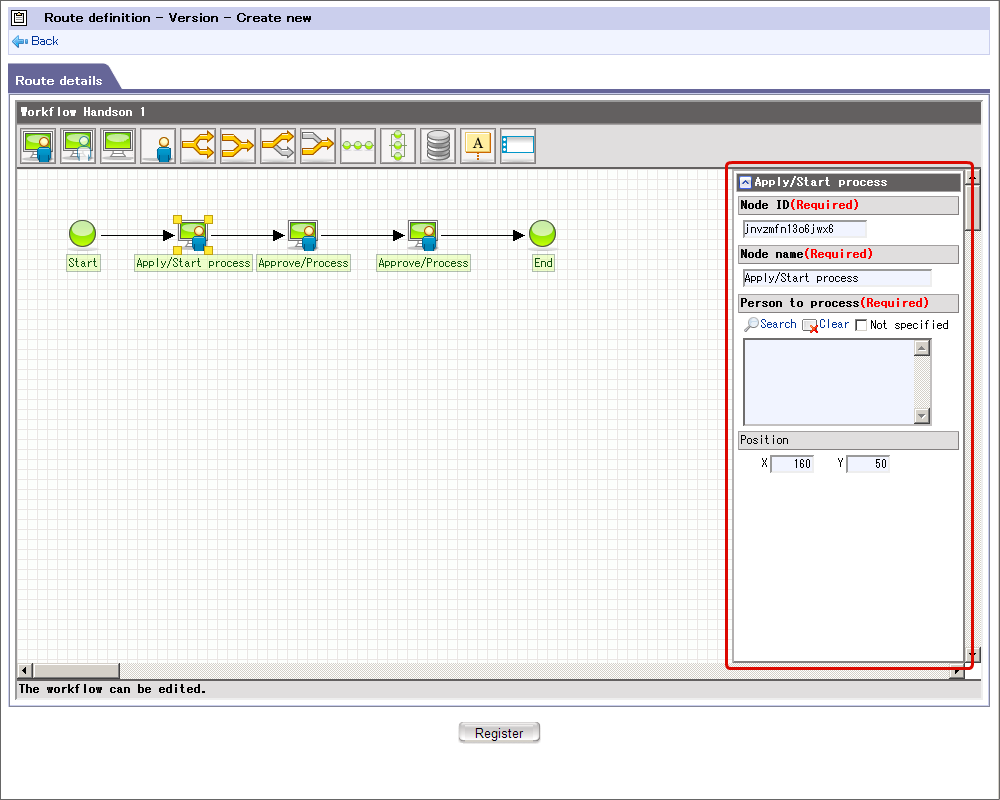
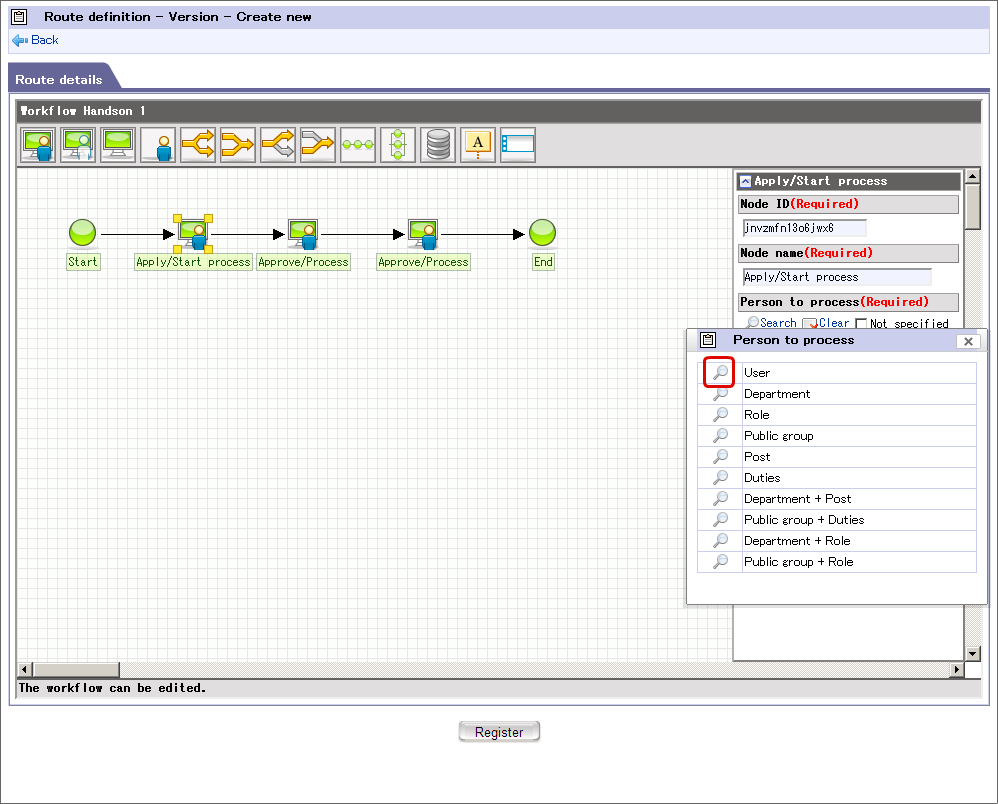
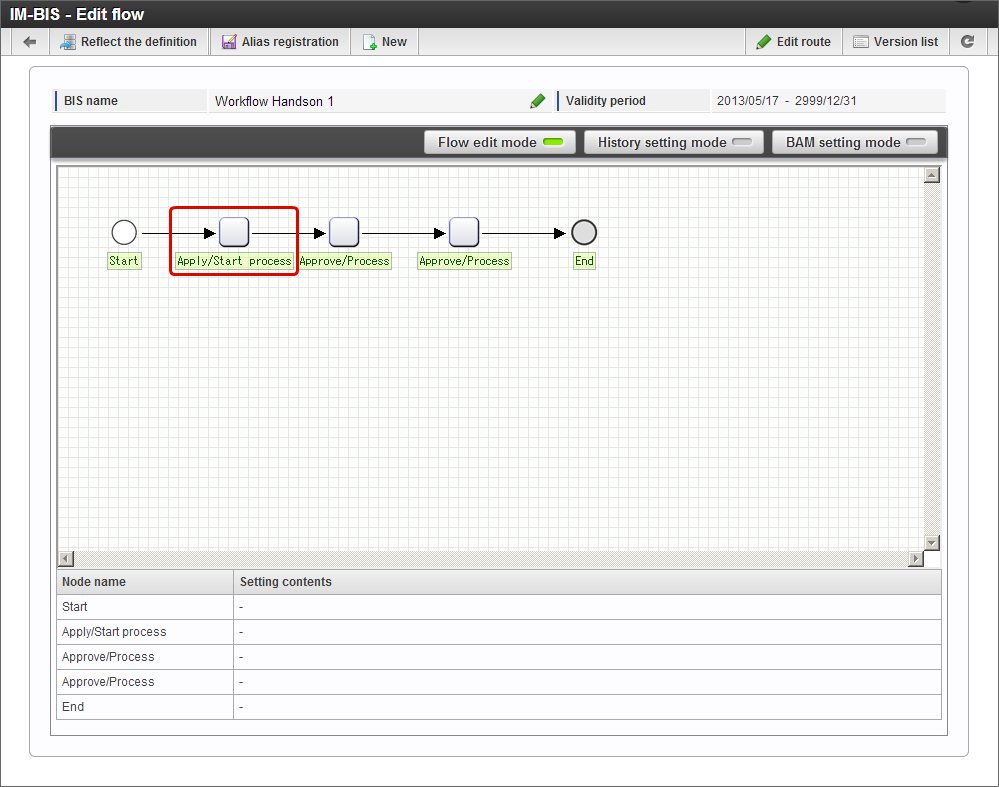
Click application icon on the grid. The settings column is displayed on the right.
Click “
Search” of “Person to process”.
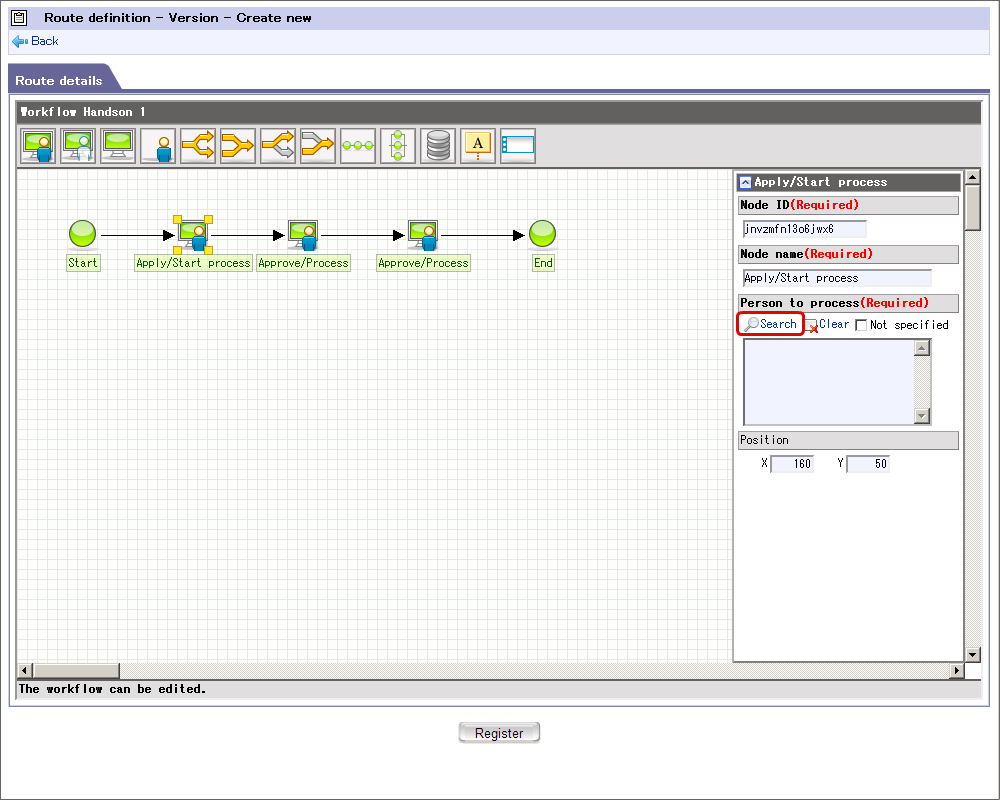
Click
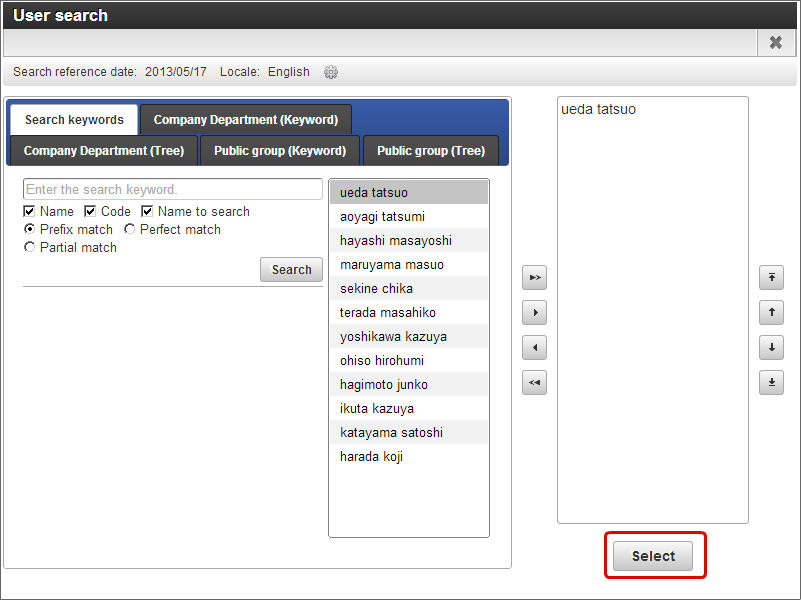
Set “ueda tatsuo” in the User search screen and click “Select”.
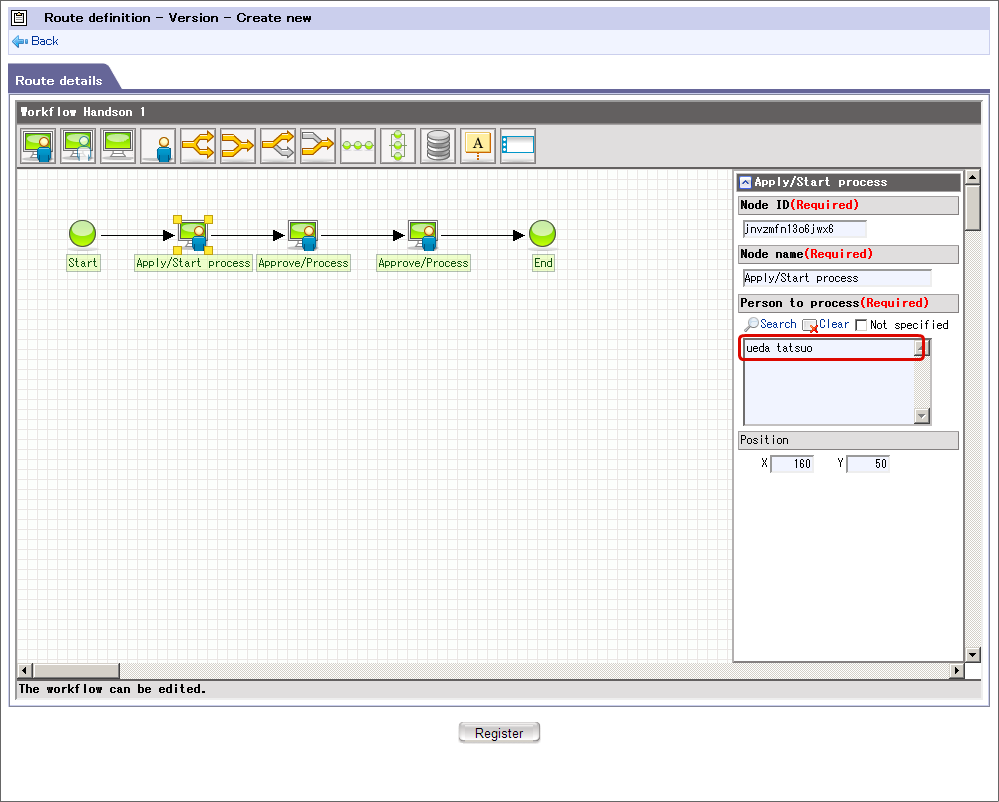
“ueda tatsuo” is displayed in Person to process.
Set “ueda tatsuo” in process target person of 2nd and 3rd approval node (task) in same procedure.
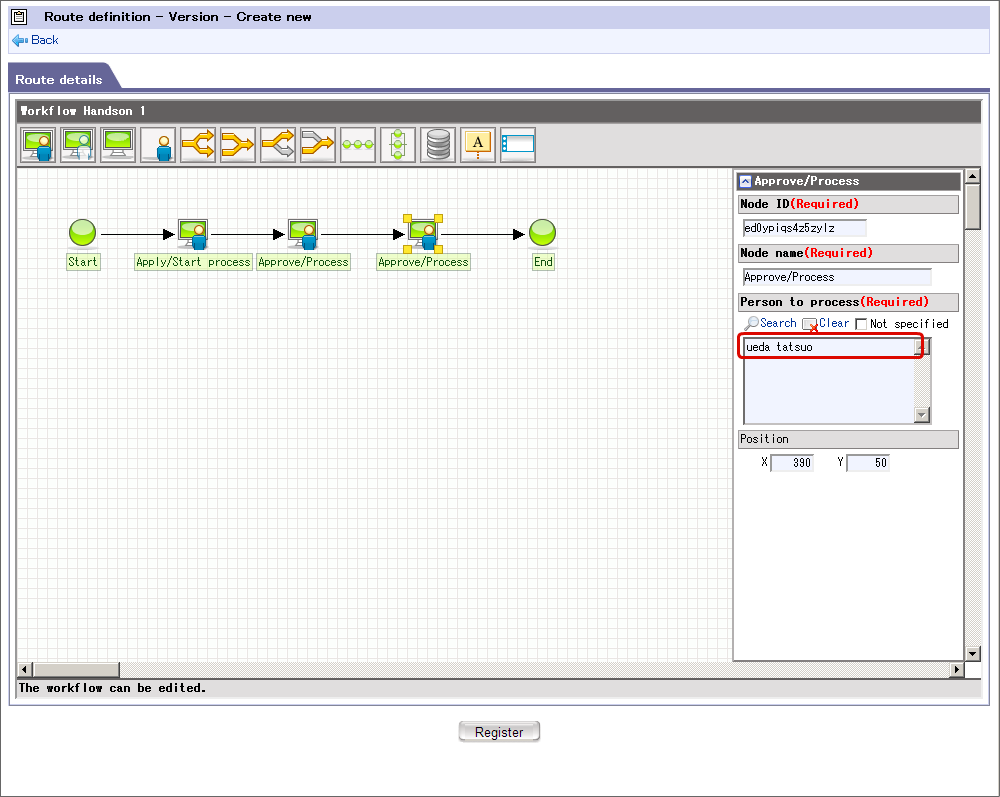
Click “Register” when the Person to process settings are complete.
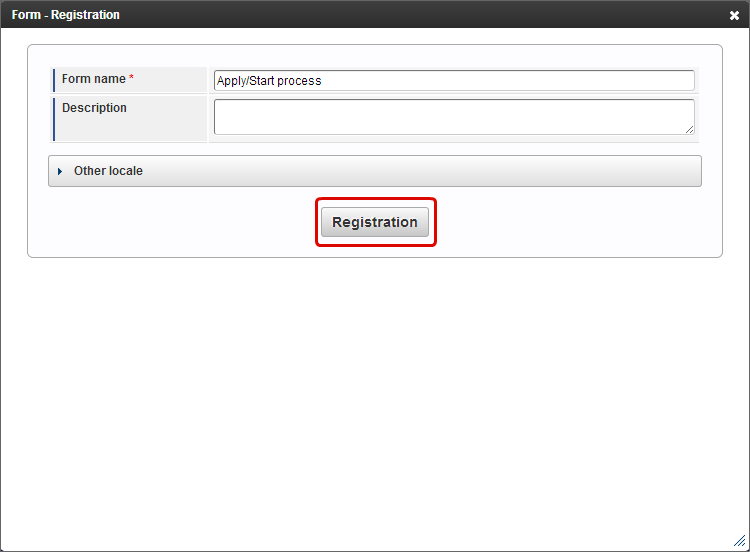
Register the screen (form) to be used in the flow
Create and register the screen (form) to be used at the time of application and approval.
“Form Designer” screen is displayed by popup.
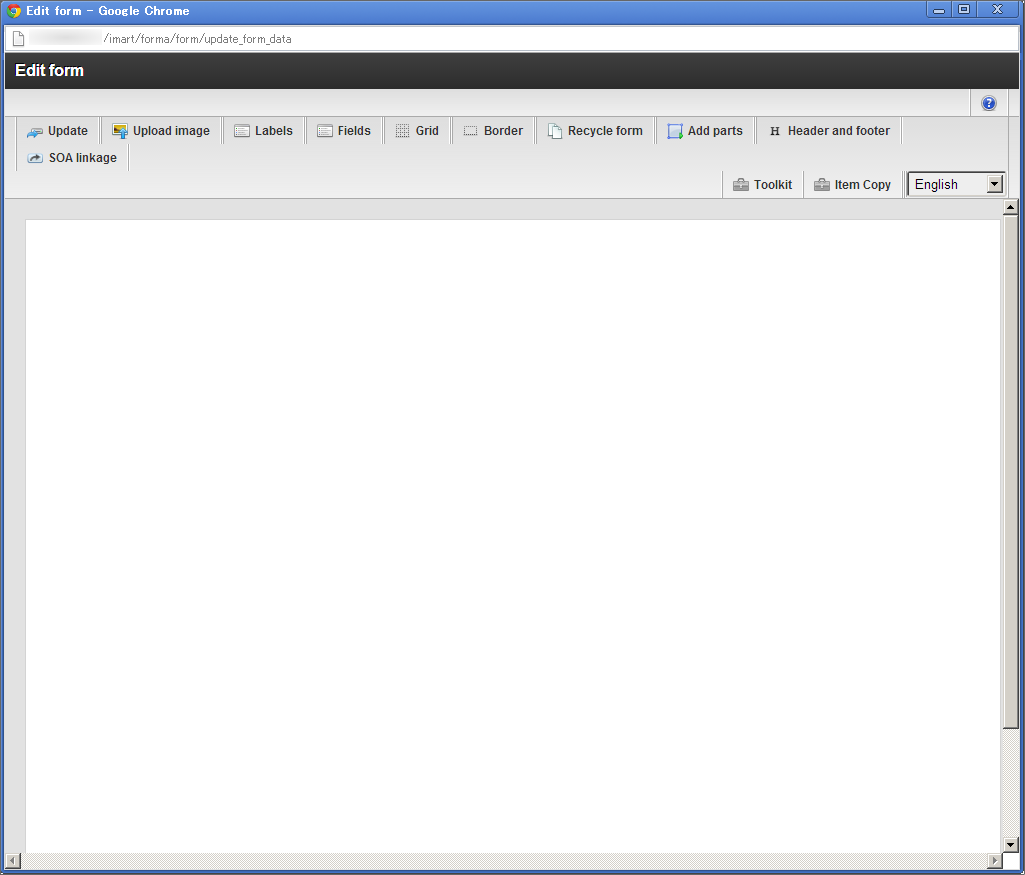
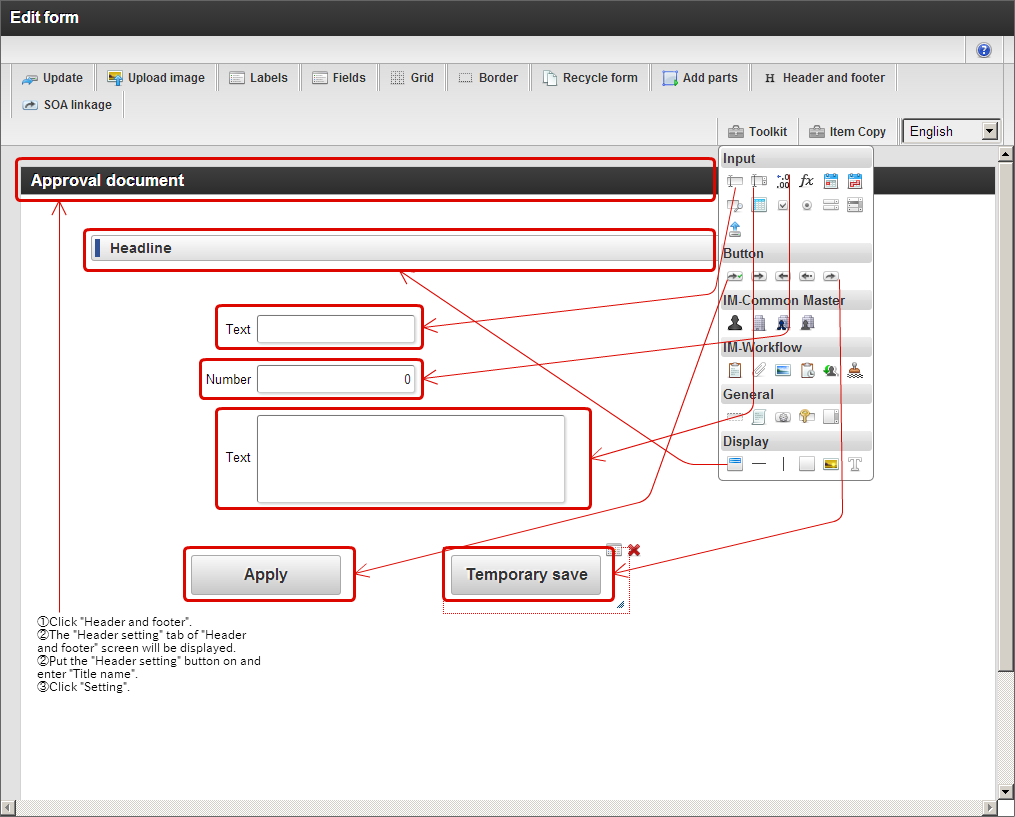
Note
Refer “Designer help” for the usage method of Form Designer. (It is displayed when ‘?’ at upper right side of Form Designer is clicked.)
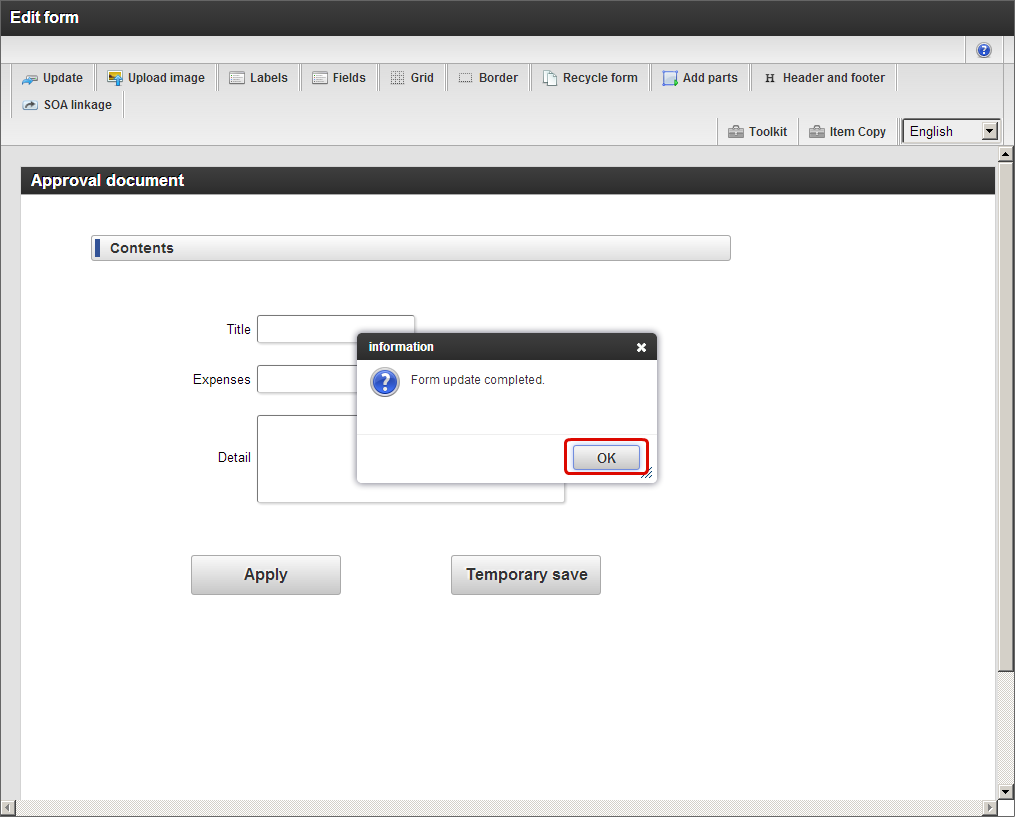
Check the edit contents, click “Update” and save the setting contents of the screen.

Click “OK” of the confirmation message and close Form Designer.
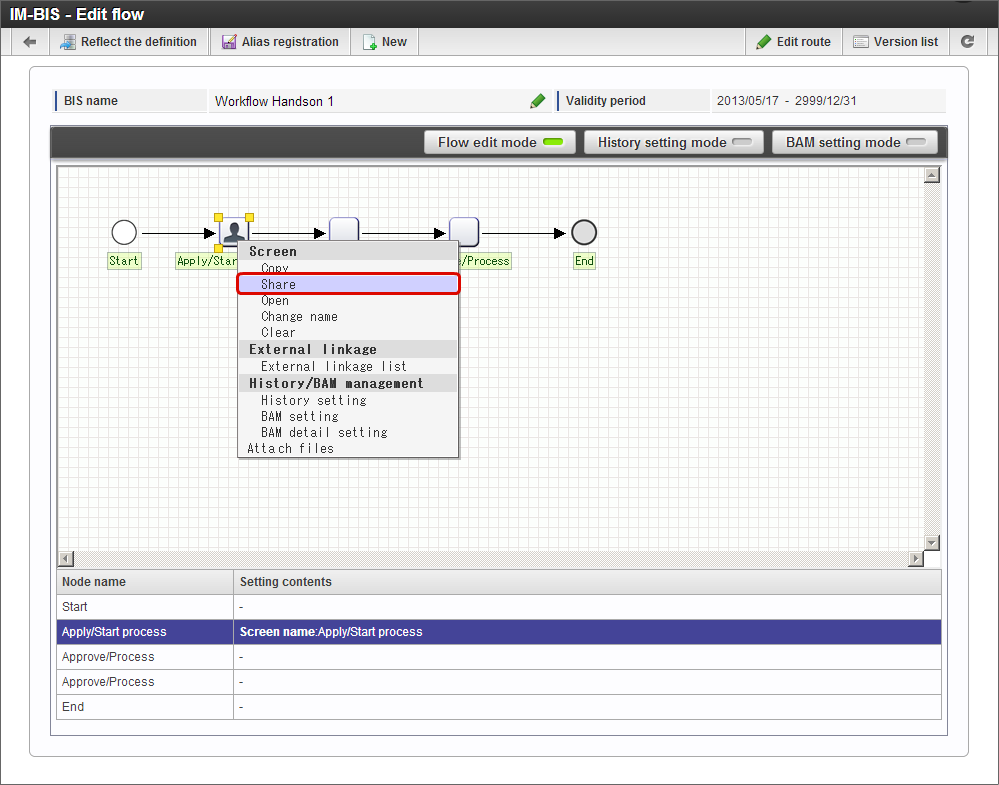
Click “Screen” -> “Share” in the context menu to use the application node (task) screen also in the approval screen.
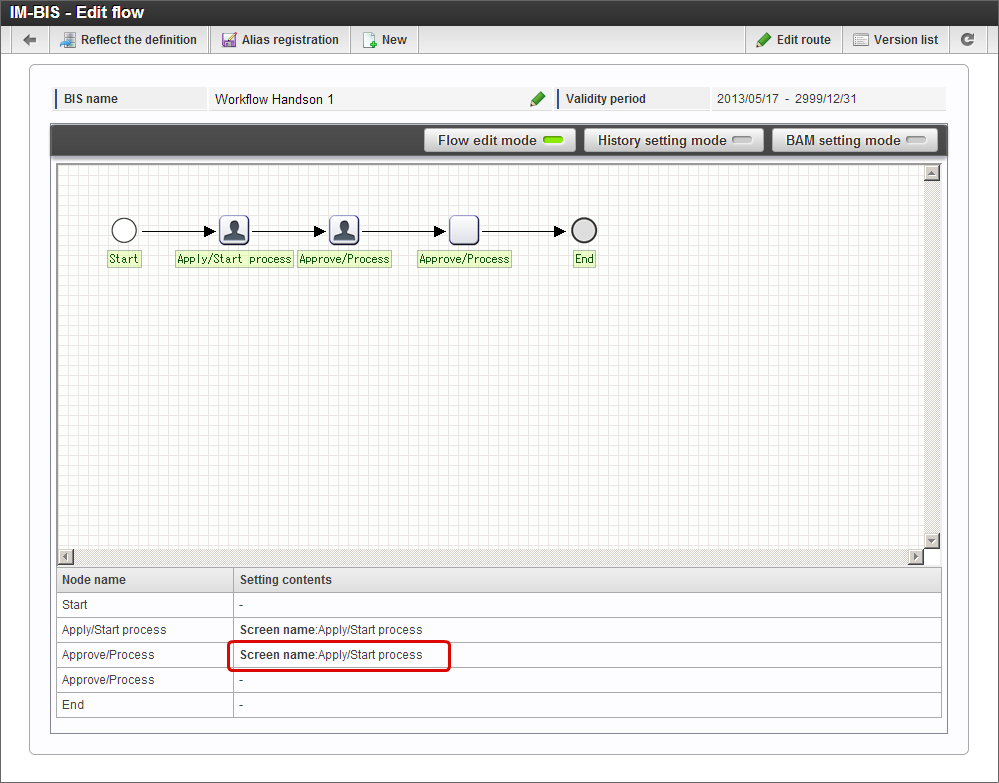
Right click the second approval node (task) and click “Screen” -> “Paste”.

The screen similar to application node (task) could be set in the second approval node (task).
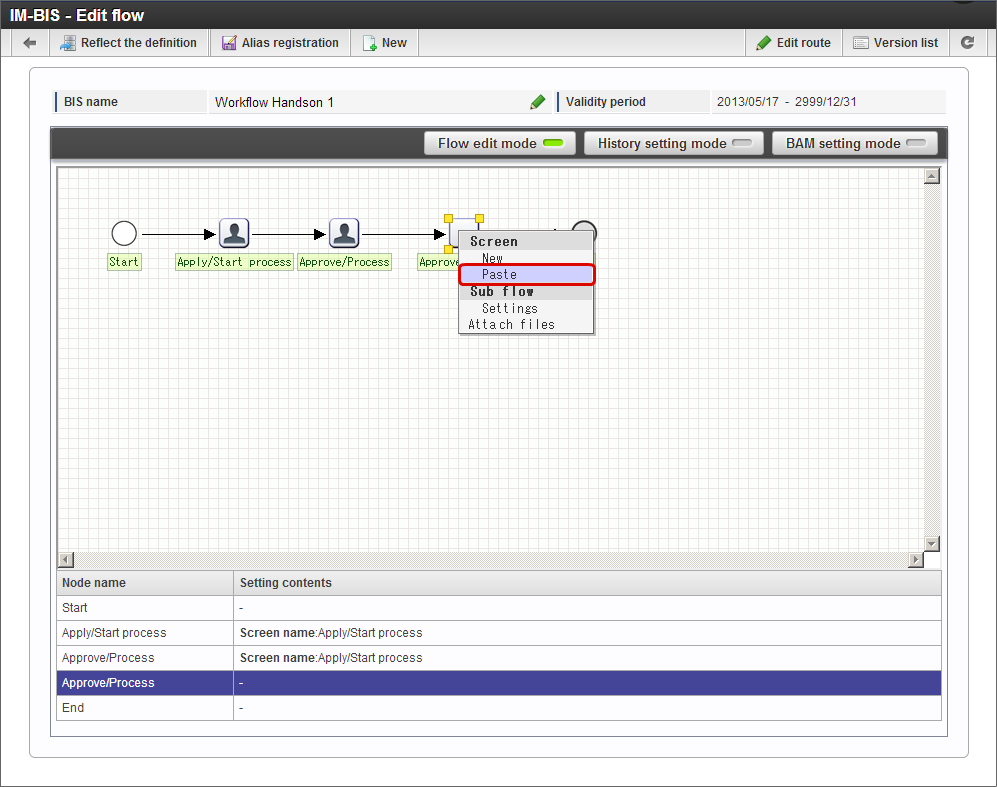
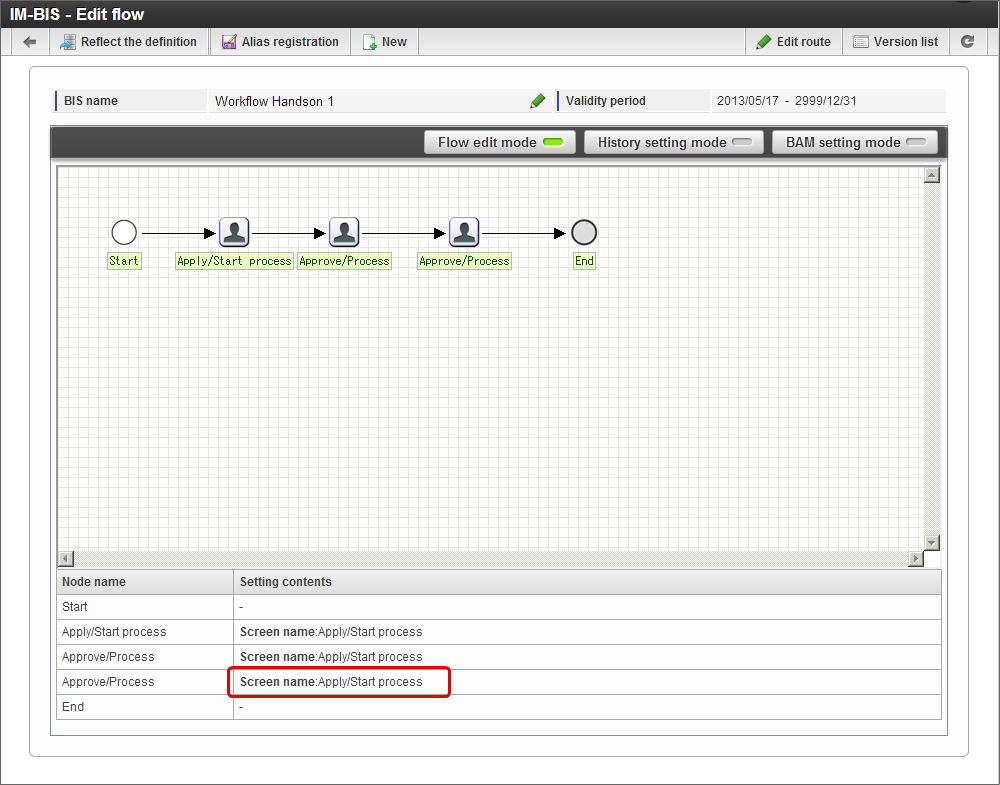
Right click the third approval node (task) and click “Screen” -> “Paste”.
The screen similar to application node (task) could be set in the third approval node (task).
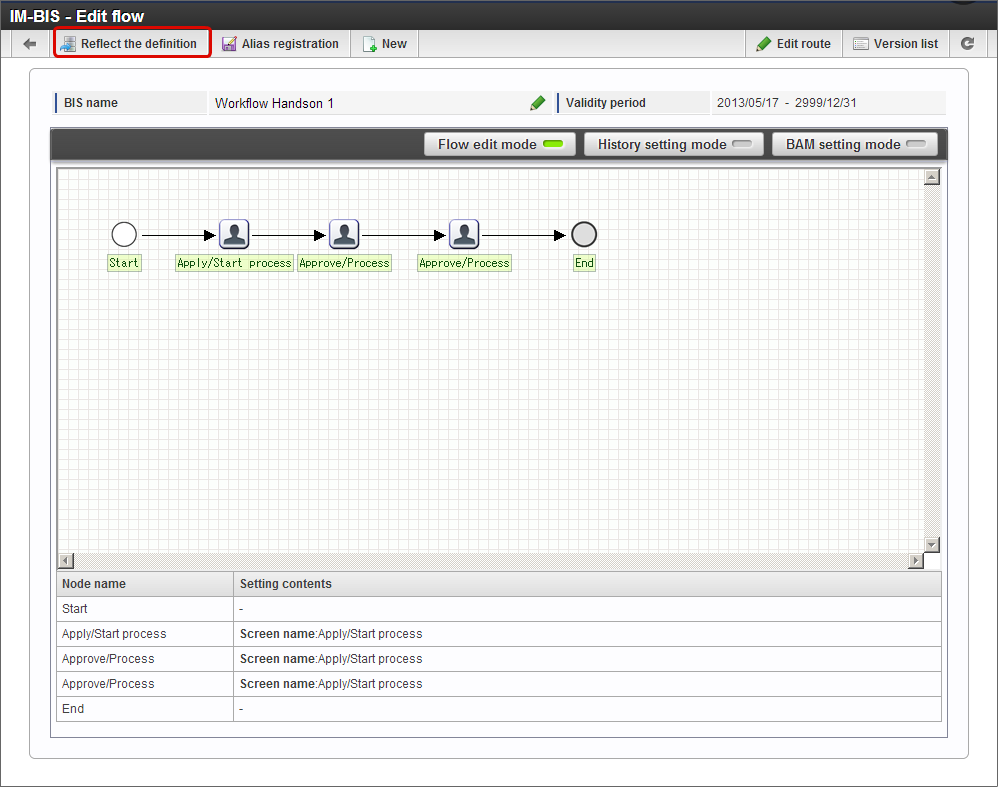
Execute the system setting processes required to use workflow
Complete the creation of the flow by clicking “Reflect the definition”.