User
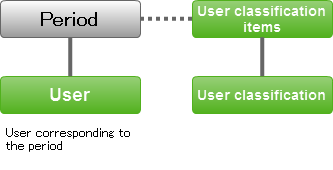
User related information is managed here.
It corresponds to the specified period. For details, refer “Introduction” - “About specifying the period”.
Setting the user
Click on “Site map”→”Common master”→”Master maintenance” → “User”.
Click on “Register new user”.
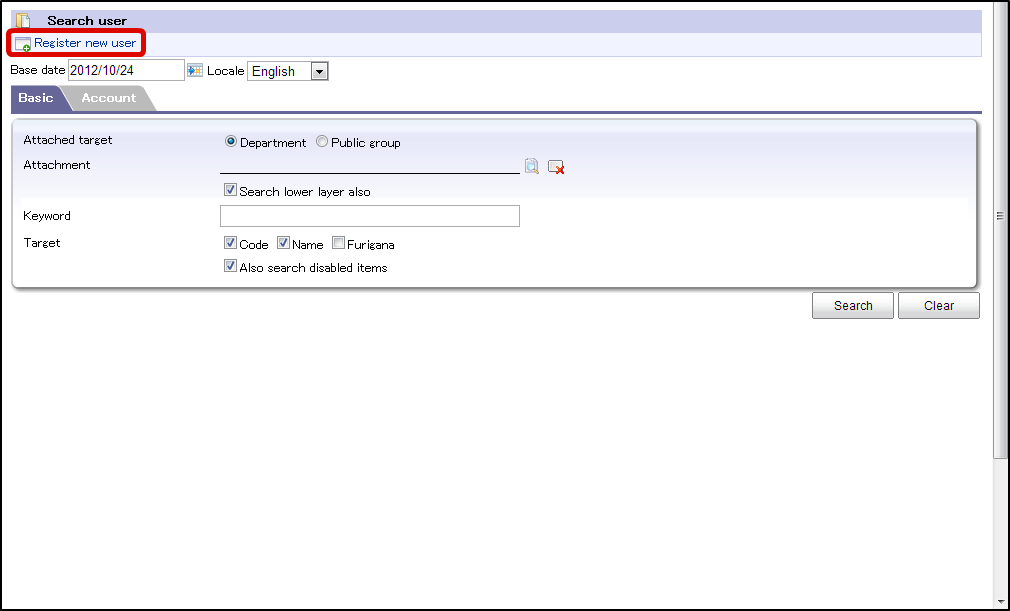
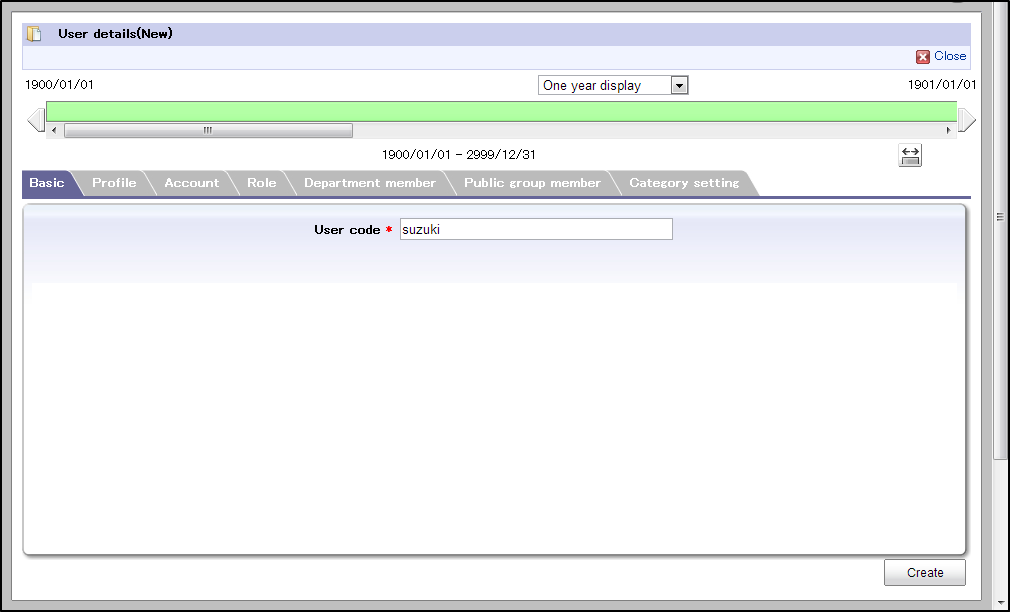
“User details(New)” screen is displayed.
“Basic” tab
“Profile” tab
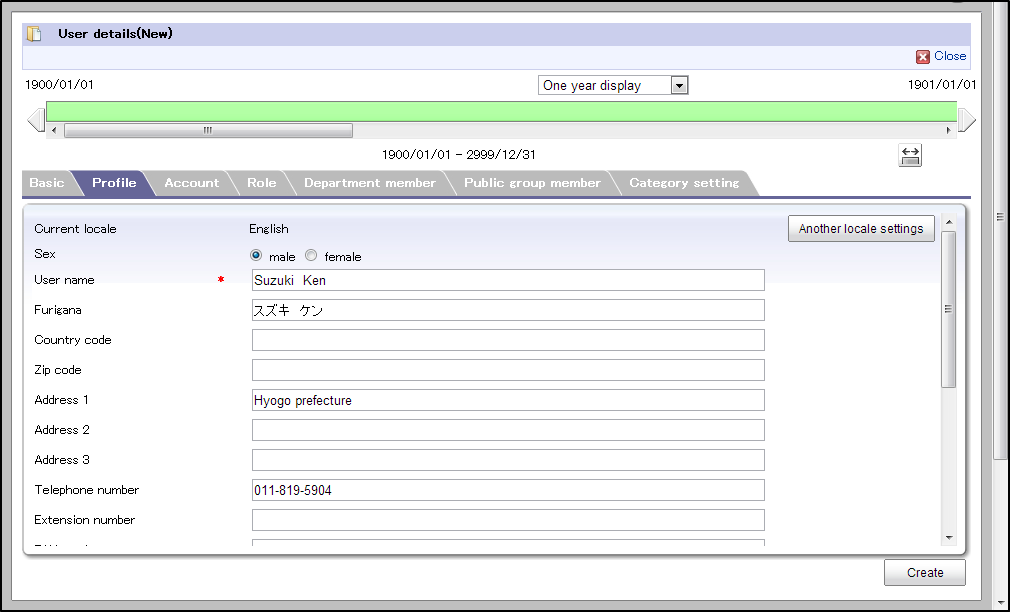
- Current locale.
The entered locale is displayed.
Other locale settings
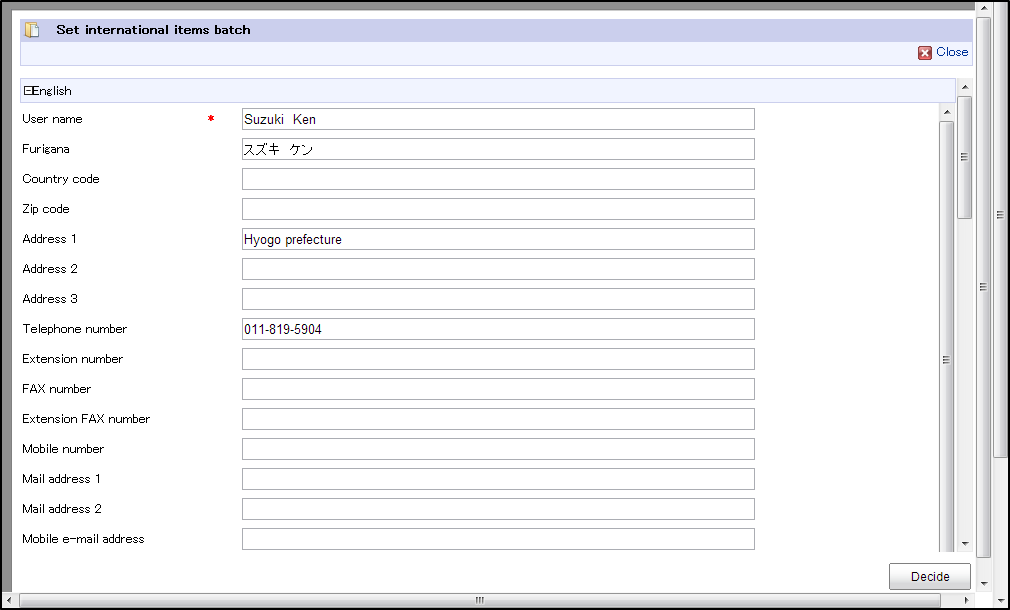 Multilingual information is entered.For details, refer “Introduction” - “About internationalization”.
“Account” tab
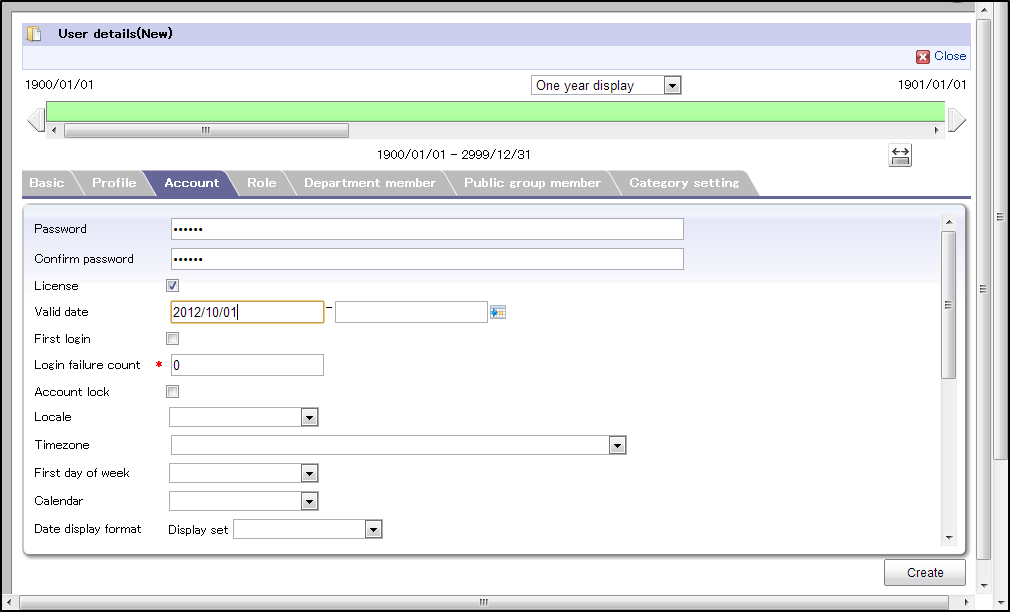
- License
- Valid period
- Initial login
- Number of failed login attempts
- Account locking
If this check box is selected, the account is locked and the user cannot login to this account.
- Locale
- Time zone
- Calendar
- Date display format
- Theme
“Role” tab
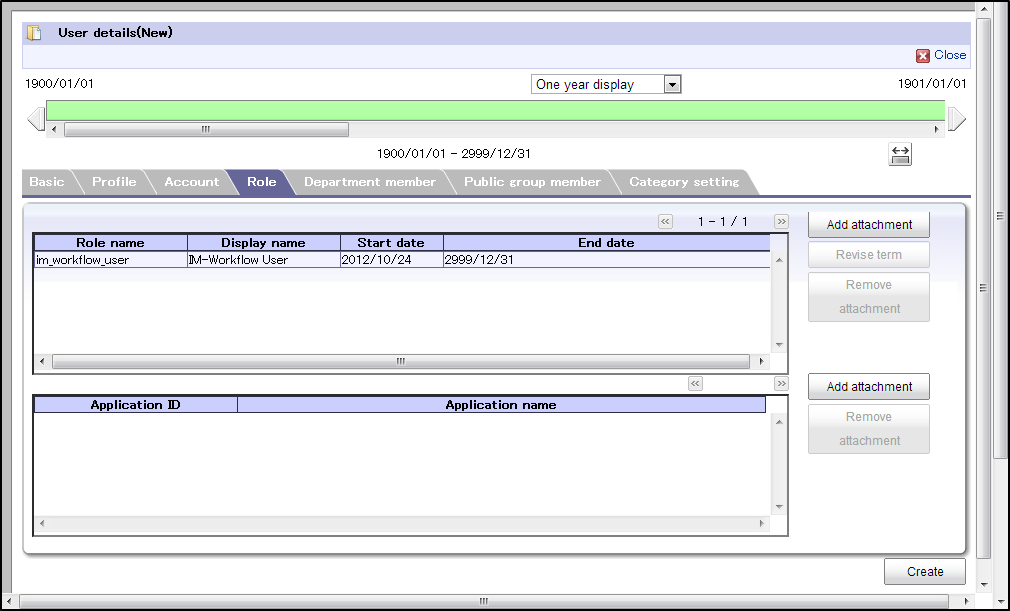
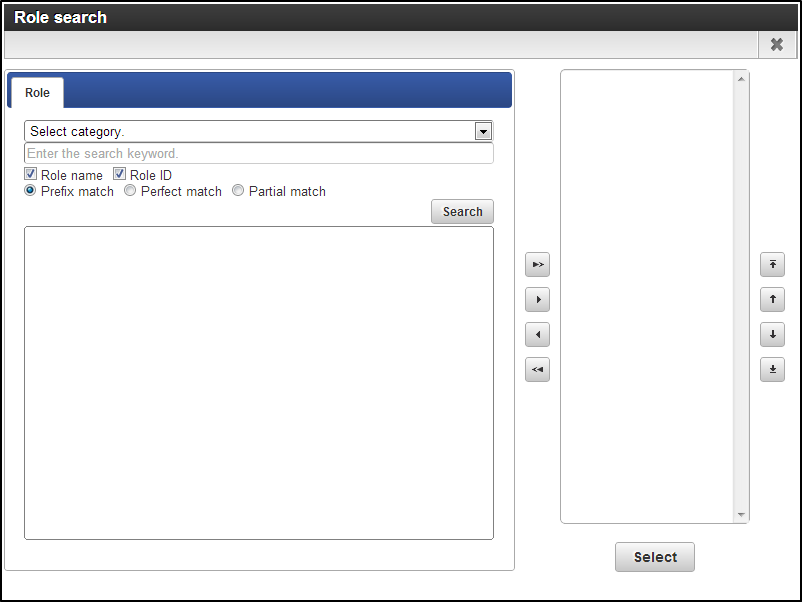
- Role “Add affiliation” button
Select the role to be set to this account.
- Role “Modify period” button
The period for the role to be set to this account is selected.
- Application role “Add affiliation” button
The application role to be set for this account is selected.
“Organization affiliation” tab
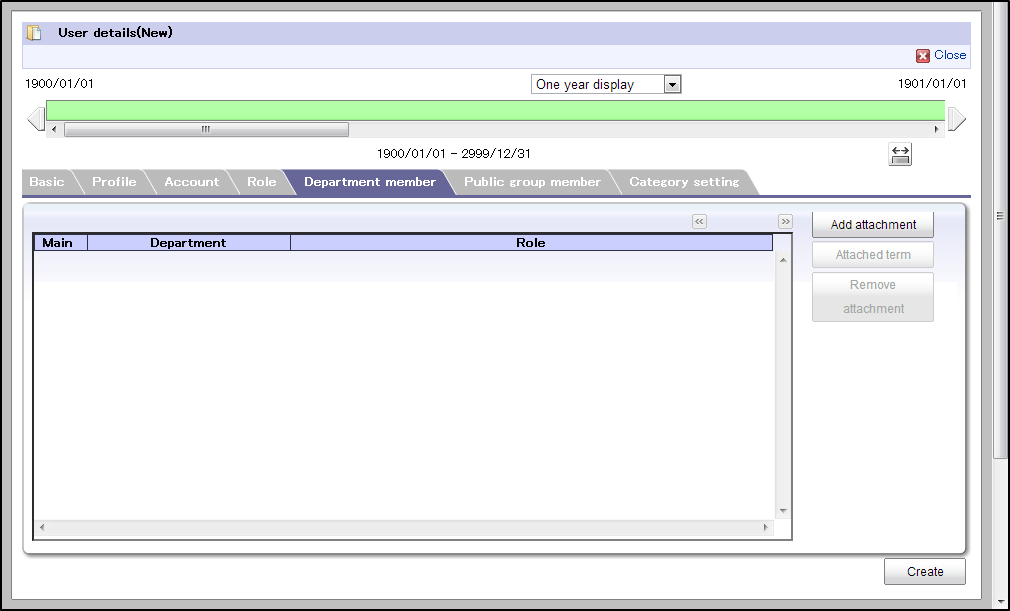
- “Add affiliation” button
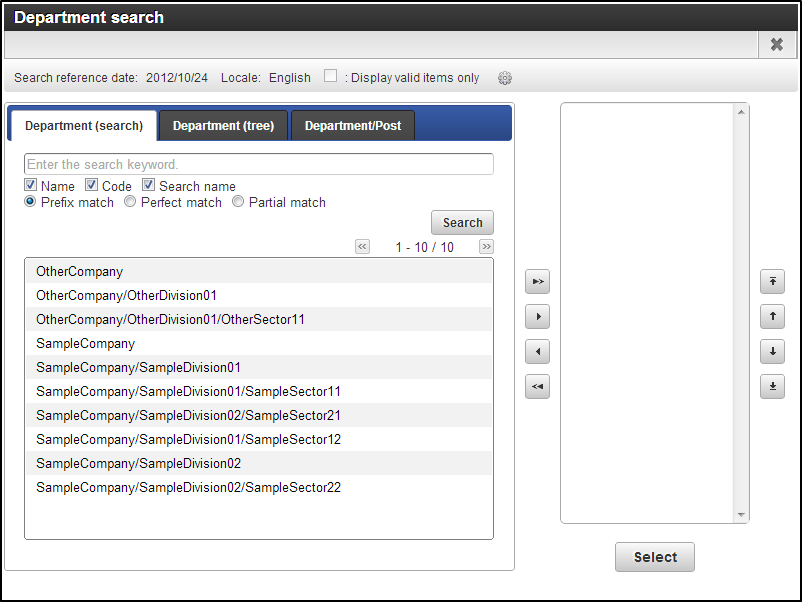
“Modify period” button
“Modify period” can be set only in edit mode.The designation and period this account is affiliated to the organization, is selected.For details, refer “Introduction” - “About specifying the period”“Public group affiliation” tab
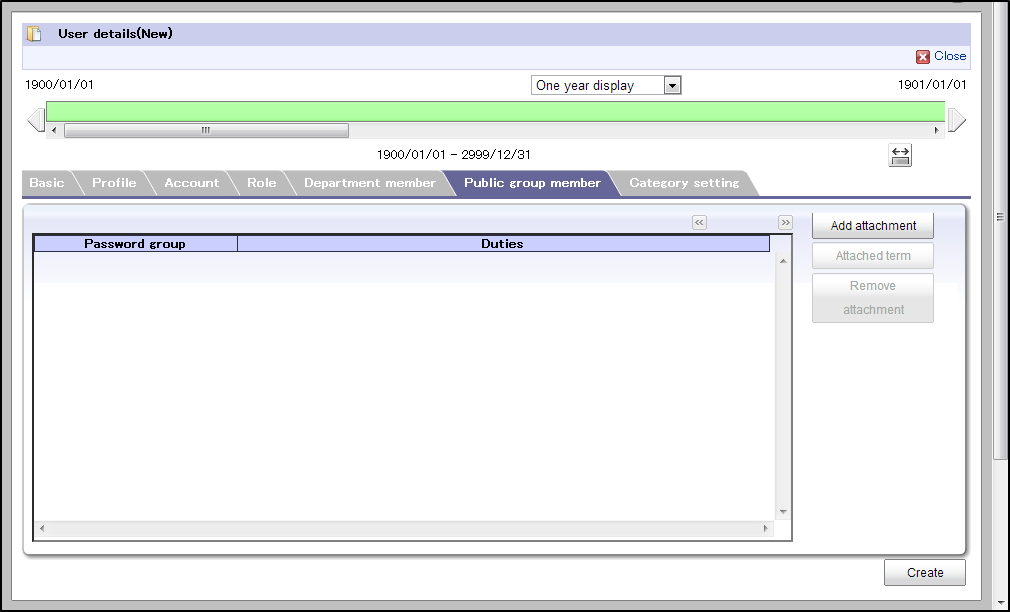
- “Add affiliation” button
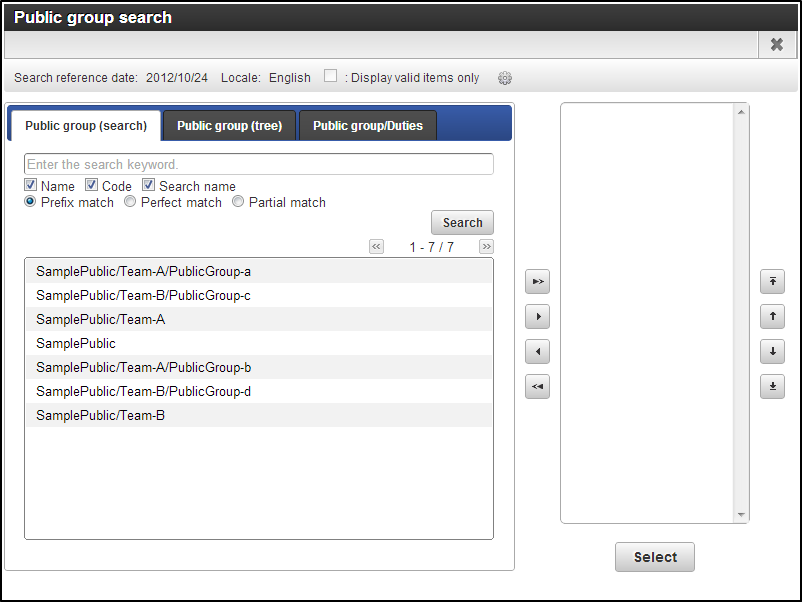
“Modify period” button
“Modify period” can be set only in edit mode.The designation and period this account is affiliated to the organization, is selected..For details , refer “Introduction” - “About specifying the period”.“Classification settings” tab

“Add affiliation” button
The classification affiliated to this account is selected.For details, refer “basic setting” - “Classification”.
Click “Register” on “User details(New)” screen.
The user is registered.

Note
- In case of edit
- Click on
of target user.